Plotter.camera_position#
- property Plotter.camera_position: CameraPosition[source]#
Set or return the camera position of the active render window.
Examples#
Download Python source code | Download Jupyter notebook
Return the camera’s position as a CameraPosition object.
>>> import pyvista as pv
>>> from pyvista import examples
>>> mesh = examples.download_bunny_coarse()
>>> pl = pv.Plotter()
>>> _ = pl.add_mesh(mesh, show_edges=True, reset_camera=True)
>>> cpos = pl.camera_position
Show the camera position. This implicitly calls repr(cpos).
>>> cpos
CameraPosition(position=(0.0243, 0.0336, 0.9446),
               focal_point=(0.0243, 0.0336, -0.02225),
               viewup=(0.0, 1.0, 0.0))
Create a new CameraPosition object by copy/pasting the repr and
prepending the pyvista module, that is, pv..
>>> new_cpos = pv.CameraPosition(
...     position=(0.0243, 0.0336, 0.9446),
...     focal_point=(0.0243, 0.0336, -0.02225),
...     viewup=(0.0, 1.0, 0.0),
... )
Set the camera_position with this new object.
>>> pl.camera_position = new_cpos
Use print or str to obtain a list representation instead.
>>> print(cpos)
[(0.02430, 0.0336, 0.9446),
 (0.02430, 0.0336, -0.02225),
 (0.0, 1.0, 0.0)]
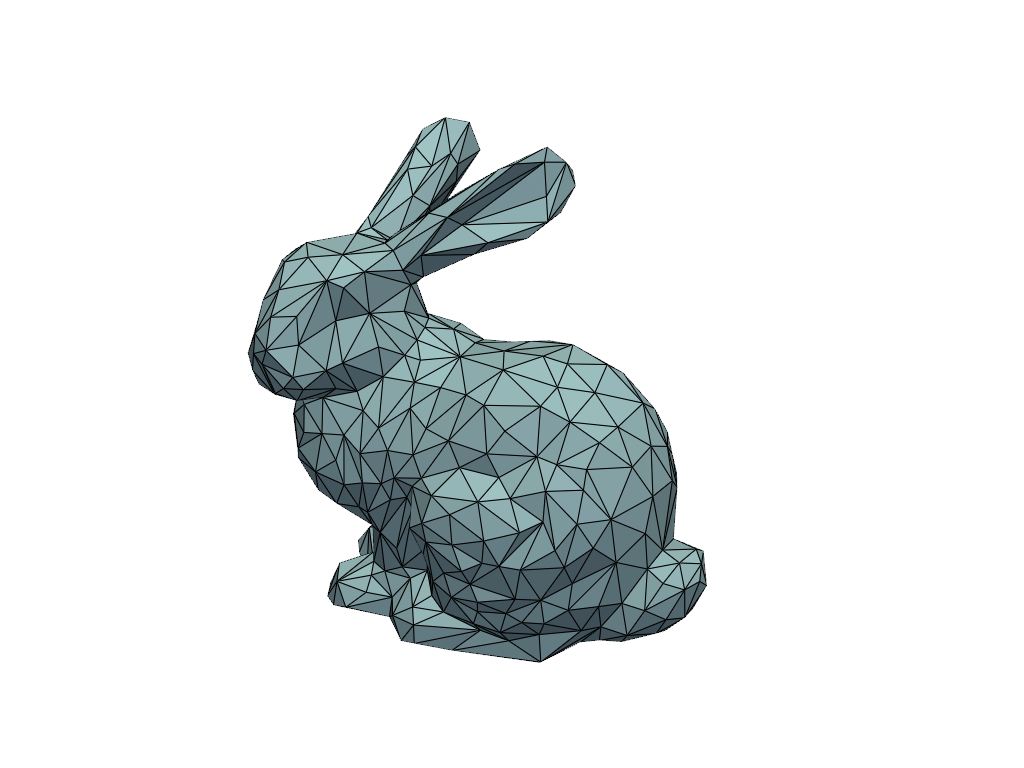
Reposition it via a list of tuples.
>>> pl.camera_position = [
...     (0.3914, 0.4542, 0.767),
...     (0.0243, 0.0336, -0.0222),
...     (-0.2148, 0.8998, -0.3796),
... ]
>>> pl.show()
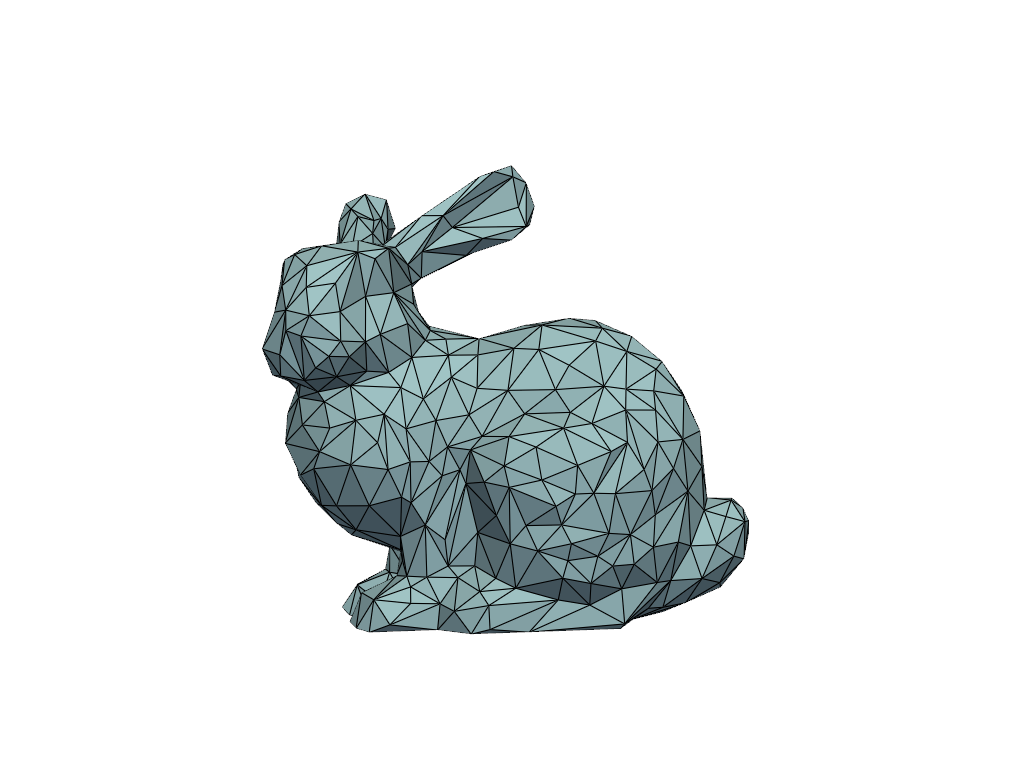
Set the camera position using a string and look at the 'xy' plane.
>>> pl = pv.Plotter()
>>> _ = pl.add_mesh(mesh, show_edges=True)
>>> pl.camera_position = 'xy'
>>> pl.show()
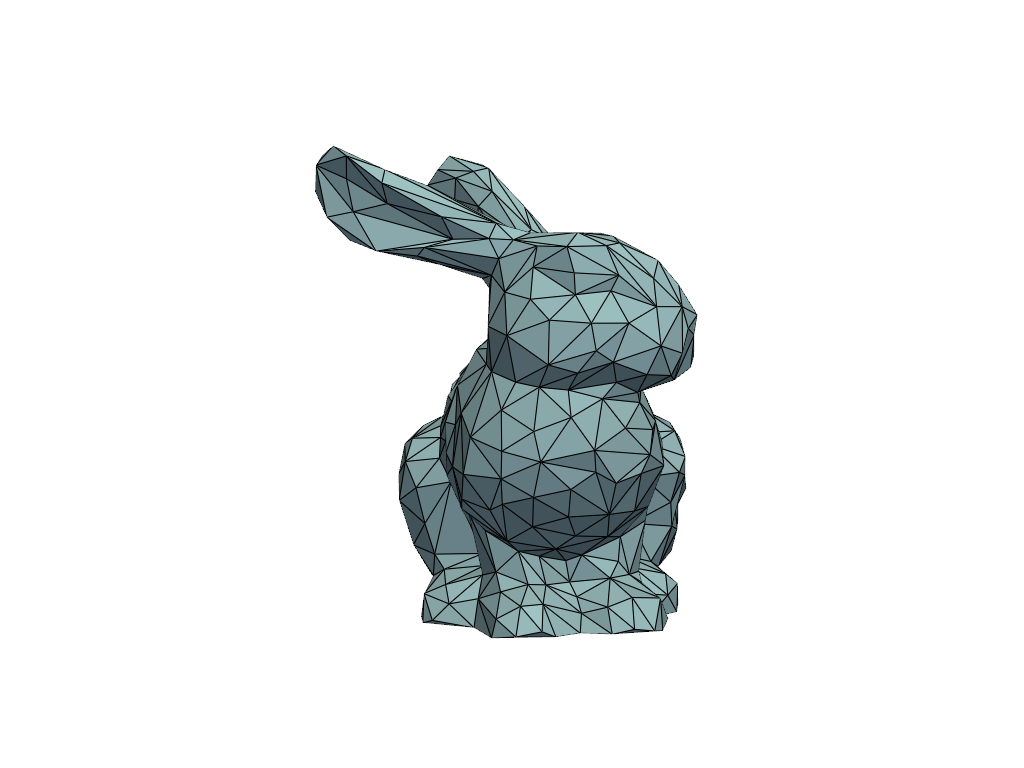
Set the camera position using a string and look at the 'zy' plane.
>>> pl = pv.Plotter()
>>> _ = pl.add_mesh(mesh, show_edges=True)
>>> pl.camera_position = 'zy'
>>> pl.show()
For more examples, see Cameras.
Used In#
Guides
- Cameras (4 uses)
- PyVista Data Model (4 uses)
- What Is a Mesh? (3 uses)
- Basic API Usage (1 use)
- Transitioning From VTK to PyVista (1 use)
API Examples
Plotter.enable_camera_distortion(2 uses)CameraPosition.to_list(1 use)Cylinder(1 use)DataObjectFilters.cell_validator(1 use)DataObjectFilters.convex_hull(1 use)32 more
DataSet.point_cell_ids(1 use)DataSet.point_neighbors(1 use)DataSetFilters.connectivity(1 use)DataSetFilters.voxelize_binary_mask(1 use)ImageData.origin(1 use)Plotter.add_camera3d_widget(1 use)Plotter.add_lines(1 use)Plotter.add_mesh(1 use)Plotter.add_point_labels(1 use)Plotter.enable_depth_of_field(1 use)Plotter.link_views(1 use)Plotter.remove_environment_texture(1 use)Plotter.set_environment_texture(1 use)PolyDataFilters.boolean_difference(1 use)PolyDataFilters.boolean_intersection(1 use)PolyDataFilters.boolean_union(1 use)PolyDataFilters.project_points_to_plane(1 use)Renderer.enable_depth_of_field(1 use)Renderer.remove_environment_texture(1 use)Renderer.set_environment_texture(1 use)Theme.interpolate_before_map(1 use)WidgetComponent.add_camera3d_widget(1 use)download_action_figure(1 use)download_bolt_nut(1 use)download_cubemap_park(1 use)download_electronics_cooling(1 use)download_fea_hertzian_contact_cylinder(1 use)download_grasshopper(1 use)download_head(1 use)download_louis_louvre(1 use)fit_plane_to_points(1 use)load_frog_tissues(1 use)
Gallery Examples