Texture.wrap#
- property Texture.wrap: WrapType[source]#
Return or set the Wrap mode for the texture coordinates.
Wrap mode for the texture coordinates valid values are:
0- CLAMP_TO_EDGE1- REPEAT2- MIRRORED_REPEAT3- CLAMP_TO_BORDER
Notes#
CLAMP_TO_BORDER is not supported with OpenGL ES <= 3.2. Wrap will default to CLAMP_TO_EDGE if it is set to CLAMP_TO_BORDER in this case.
Requires vtk v9.1.0 or newer.
Examples#
Download Python source code | Download Jupyter notebook
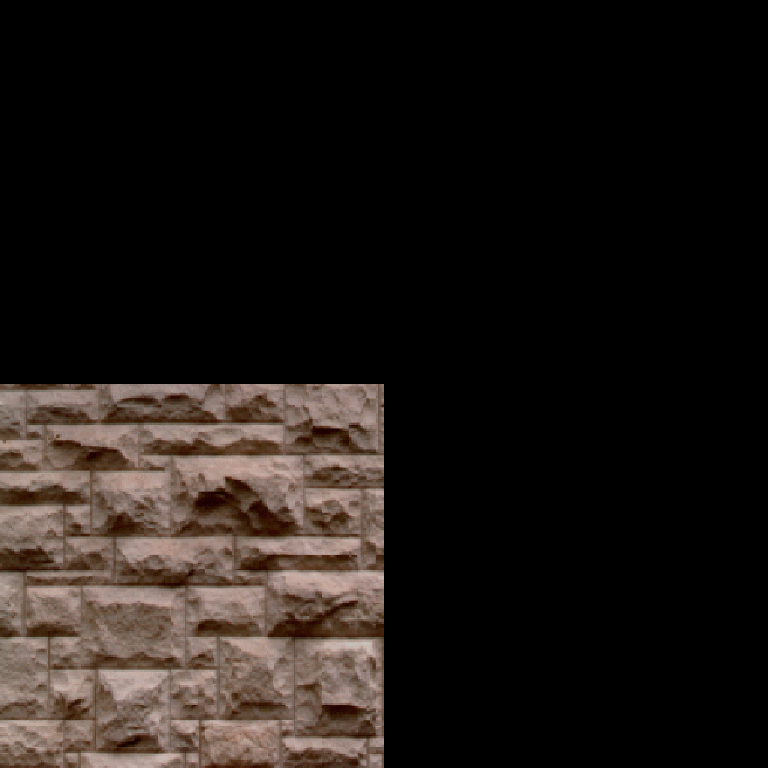
Load the masonry texture and create a simple pyvista.PolyData
with texture coordinates using pyvista.Plane(). By default the
texture coordinates are between 0 and 1. Let’s raise these values over
1 by multiplying them in place. This will allow us to wrap the texture.
>>> import pyvista as pv
>>> from pyvista import examples
>>> texture = examples.download_masonry_texture()
>>> plane = pv.Plane()
>>> plane.active_texture_coordinates *= 2
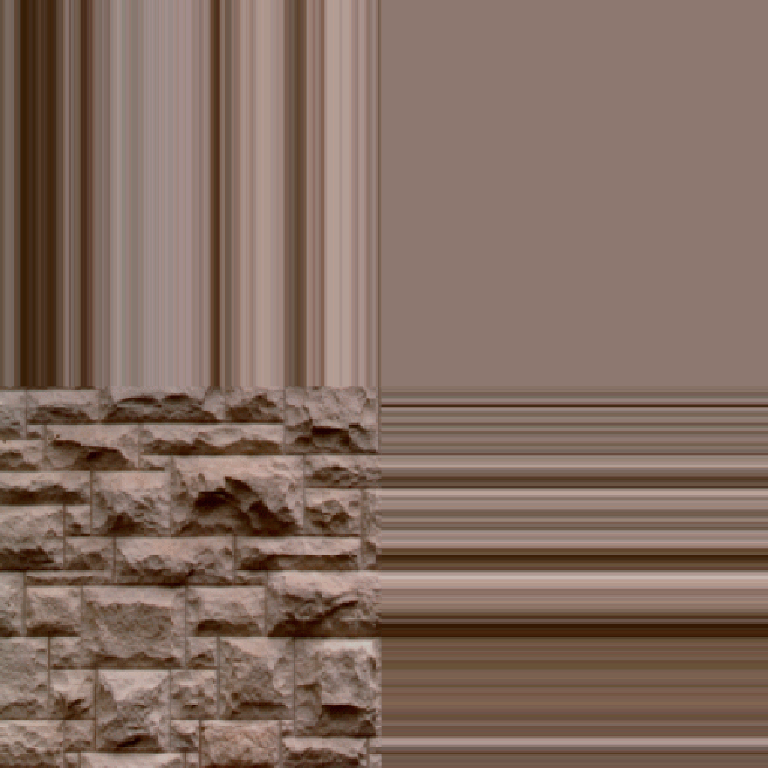
Let’s now set the texture wrap to clamp to edge and visualize it.
>>> texture.wrap = pv.Texture.WrapType.CLAMP_TO_EDGE
>>> pl = pv.Plotter()
>>> actor = pl.add_mesh(plane, texture=texture)
>>> pl.camera.zoom('tight')
>>> pl.show()
Here is the default repeat:
>>> texture.wrap = pv.Texture.WrapType.REPEAT
>>> pl = pv.Plotter()
>>> actor = pl.add_mesh(plane, texture=texture)
>>> pl.camera.zoom('tight')
>>> pl.show()
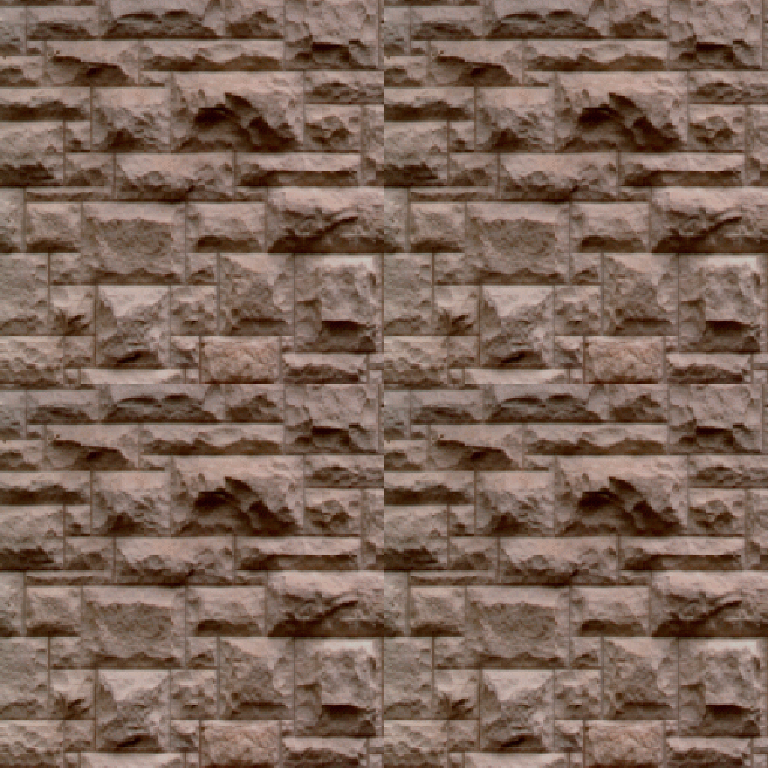
And here is mirrored repeat:
>>> texture.wrap = pv.Texture.WrapType.MIRRORED_REPEAT
>>> pl = pv.Plotter()
>>> actor = pl.add_mesh(plane, texture=texture)
>>> pl.camera.zoom('tight')
>>> pl.show()
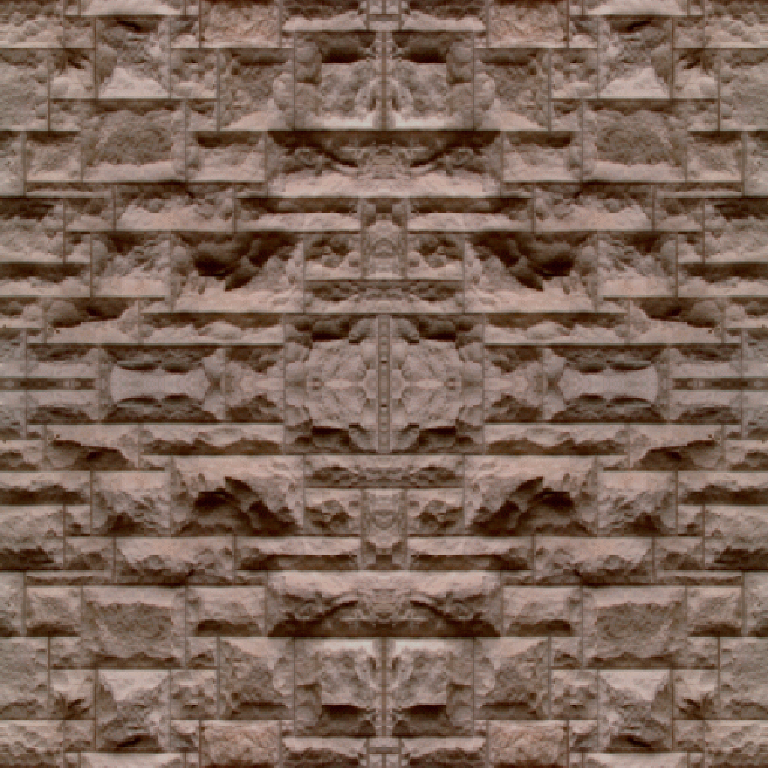
Finally, this is clamp to border:
>>> texture.wrap = pv.Texture.WrapType.CLAMP_TO_BORDER
>>> pl = pv.Plotter()
>>> actor = pl.add_mesh(plane, texture=texture)
>>> pl.camera.zoom('tight')
>>> pl.show()