AxesAssembly#
- class AxesAssembly(*args, **kwargs)[source]#
Assembly of arrow-style axes parts.
The axes may be used as a widget or added to a scene.
- Parameters:
- shaft_type
str|DataSet, default: ‘cylinder’ Shaft type for all axes. Can be any of the following:
'cylinder''sphere''hemisphere''cone''pyramid''cube''octahedron'
Alternatively, any arbitrary 3-dimensional
pyvista.DataSetmay be specified. In this case, the dataset must be oriented such that it “points” in the positive z direction.- shaft_radius
float|VectorLike[float], default: 0.025 Radius of the axes shafts.
- shaft_length
float|VectorLike[float], default: 0.8 Length of the shaft for each axis.
- tip_type
str|DataSet, default: ‘cone’ Tip type for all axes. Can be any of the following:
'cylinder''sphere''hemisphere''cone''pyramid''cube''octahedron'
Alternatively, any arbitrary 3-dimensional
pyvista.DataSetmay be specified. In this case, the dataset must be oriented such that it “points” in the positive z direction.- tip_radius
float|VectorLike[float], default: 0.1 Radius of the axes tips.
- tip_length
float|VectorLike[float], default: 0.2 Length of the tip for each axis.
- symmetric_boundsbool, default:
False Make the bounds of the axes symmetric. This is mainly for using the axes with
add_orientation_widget()to ensure the axes rotate correctly about the origin.- scale_mode‘default’, ‘anti_distortion’, default: ‘default’
Mode used when scaling the axes.
'default': Apply standard geometric scaling using'scale'factors. The full assembly is scaled as a single object. If non-uniform scaling is used, the axes may appear distorted.'anti_distortion': Apply corrective scaling to axes shafts and tips to ensure they do not appear distorted. The shaft diameters, tip diameters, and tip lengths will all be scaled to appear uniform.
Added in version 0.47.
- x_label
str, default: ‘X’ Text label for the x-axis. Alternatively, set the label with
labels.- y_label
str, default: ‘Y’ Text label for the y-axis. Alternatively, set the label with
labels.- z_label
str, default: ‘Z’ Text label for the z-axis. Alternatively, set the label with
labels.- labels
Sequence[str], optional, Text labels for the axes. This is an alternative parameter to using
x_label,y_label, andz_labelseparately.- label_color
ColorLike, default: ‘black’ Color of the text labels.
- show_labelsbool, default:
True Show or hide the text labels.
- label_position
float|VectorLike[float],optional Position of the text labels along each axis. By default, the labels are positioned at the ends of the shafts.
- label_size
int, default: 50 Size of the text labels.
- x_color
ColorLike|Sequence[ColorLike],optional Color of the x-axis shaft and tip.
- y_color
ColorLike|Sequence[ColorLike],optional Color of the y-axis shaft and tip.
- z_color
ColorLike|Sequence[ColorLike],optional Color of the z-axis shaft and tip.
- position
VectorLike[float], default: (0.0, 0.0, 0.0) Position of the axes in space.
- orientation
VectorLike[float], default: (0, 0, 0) Orientation angles of the axes which define rotations about the world’s x-y-z axes. The angles are specified in degrees and in x-y-z order. However, the actual rotations are applied in the around the y-axis first, then the x-axis, and finally the z-axis.
- origin
VectorLike[float], default: (0.0, 0.0, 0.0) Origin of the axes. This is the point about which all rotations take place. The rotations are defined by the
orientation.- scale
VectorLike[float], default: (1.0, 1.0, 1.0) Scaling factor applied to the axes.
- user_matrix
MatrixLike[float],optional A 4x4 transformation matrix applied to the axes. Defaults to the identity matrix. The user matrix is the last transformation applied to the actor.
- name
str,optional The name of this assembly used when tracking on a plotter.
Added in version 0.45.
- shaft_type
See also
AxesAssemblySymmetric- Axes Objects
Example showing different axes objects.
Examples
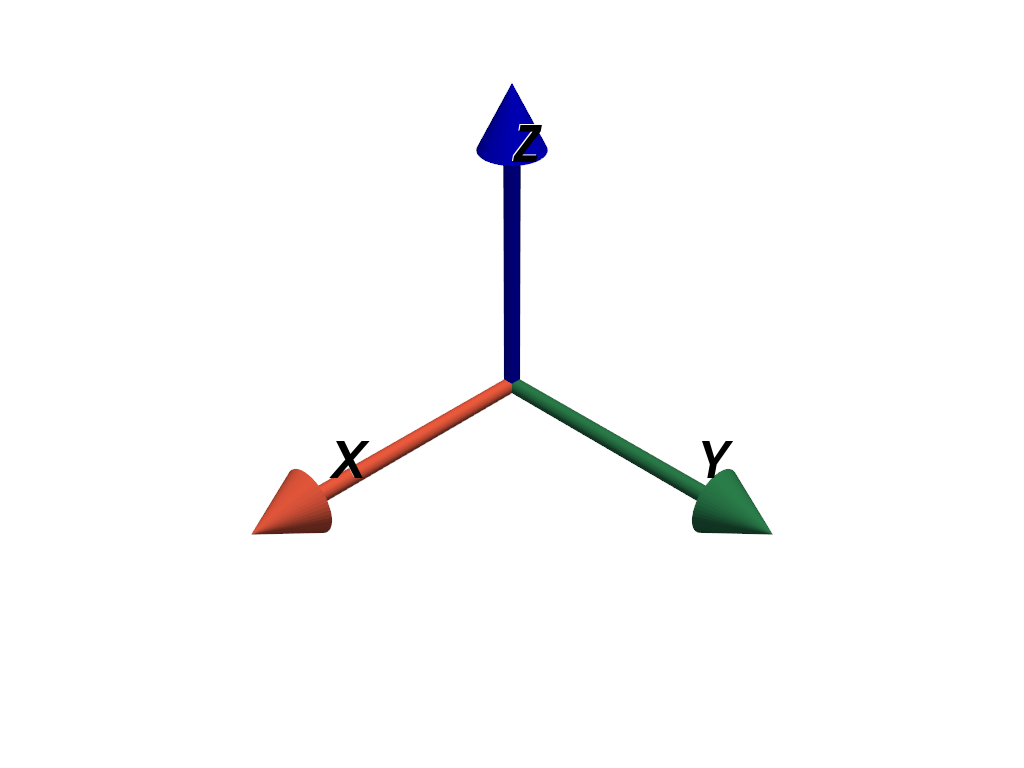
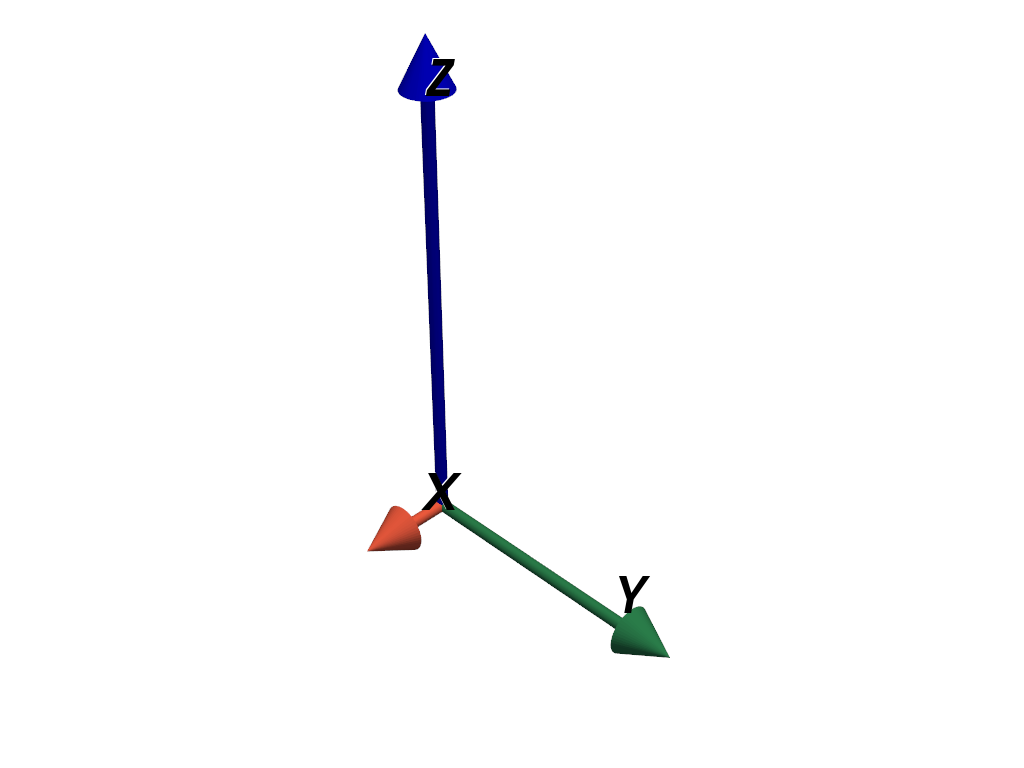
Add axes to a plot.
>>> import pyvista as pv
>>> axes = pv.AxesAssembly()
>>> pl = pv.Plotter()
>>> _ = pl.add_actor(axes)
>>> pl.show()
Customize the axes colors. Set each axis to a single color, or set the colors of each shaft and tip separately with two colors.
>>> axes.x_color = ['cyan', 'blue']
>>> axes.y_color = ['magenta', 'red']
>>> axes.z_color = 'yellow'
Customize the label color too.
>>> axes.label_color = 'brown'
>>> pl = pv.Plotter()
>>> _ = pl.add_actor(axes)
>>> pl.show()

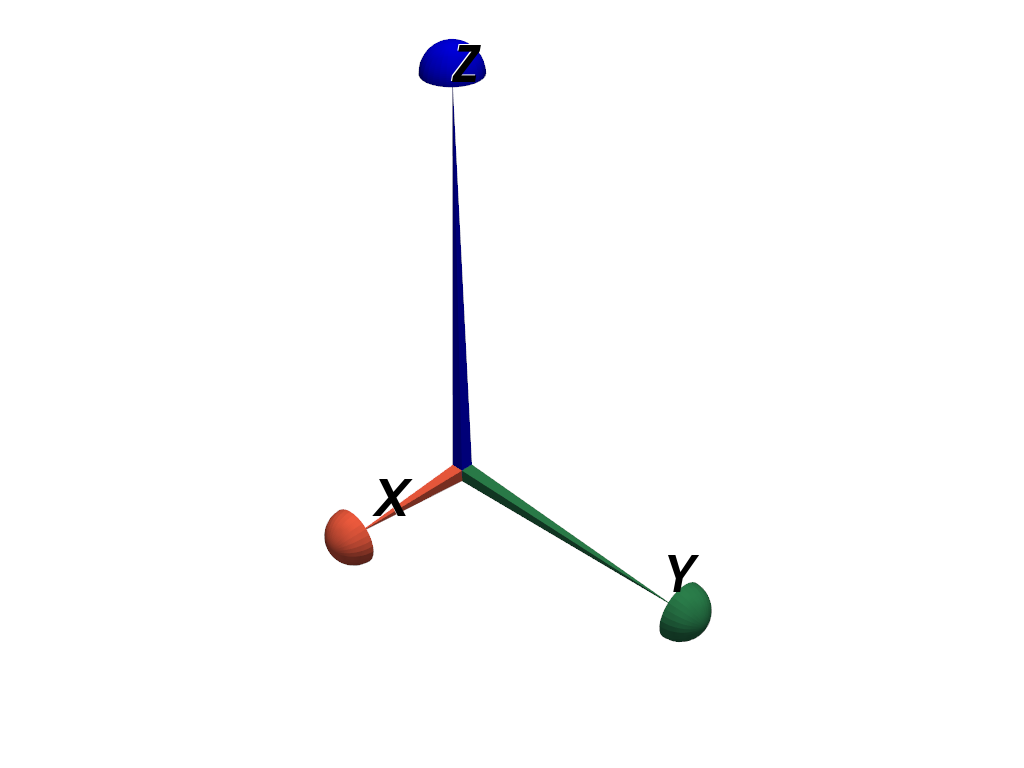
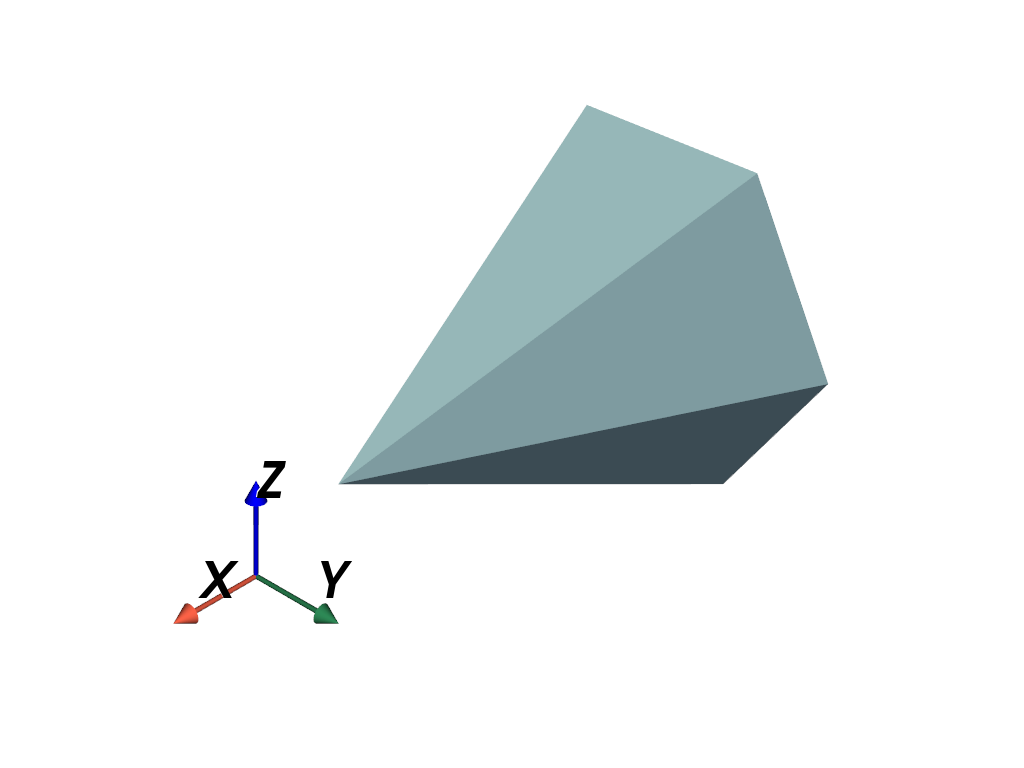
Create axes with custom geometry. Use pyramid shafts and hemisphere tips and modify the lengths.
>>> axes = pv.AxesAssembly(
...     shaft_type='pyramid',
...     tip_type='hemisphere',
...     tip_length=0.1,
...     shaft_length=(0.5, 1.0, 1.5),
... )
>>> pl = pv.Plotter()
>>> _ = pl.add_actor(axes)
>>> pl.show()
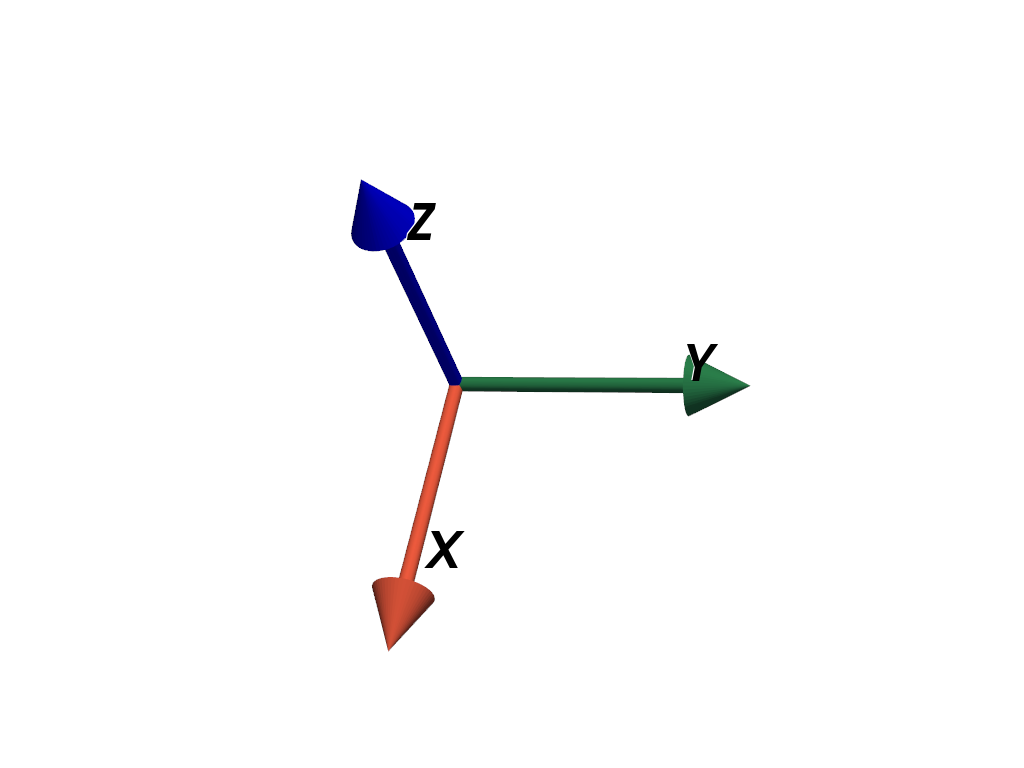
Position and orient the axes in space.
>>> axes = pv.AxesAssembly(position=(1.0, 2.0, 3.0), orientation=(10, 20, 30))
>>> pl = pv.Plotter()
>>> _ = pl.add_actor(axes)
>>> pl.show()
Scale the axes non-uniformly.
>>> axes = pv.AxesAssembly(scale=(2.0, 6.0, 10.0))
>>> pl = pv.Plotter()
>>> _ = pl.add_actor(axes)
>>> pl.show()
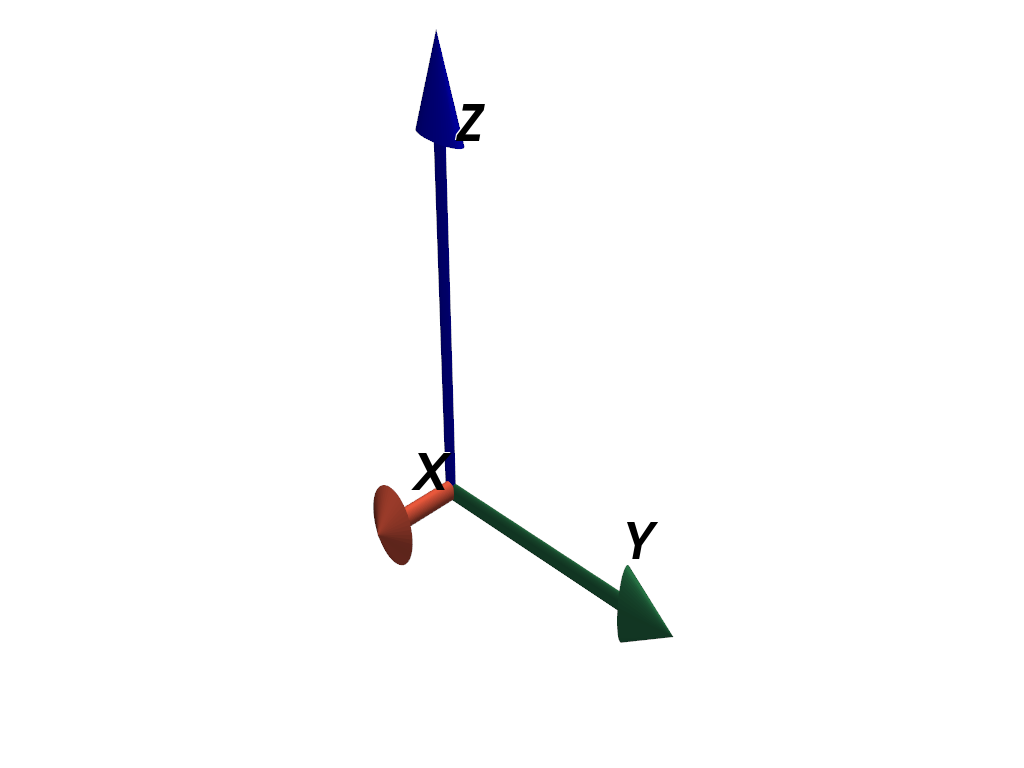
Note how the non-uniform scaling distorts the axes such that the tips all have different lengths and the shafts are no longer cylindrical. Use the anti-distortion mode when scaling to avoid this.
>>> axes.scale_mode = 'anti_distortion'
>>> pl = pv.Plotter()
>>> _ = pl.add_actor(axes)
>>> pl.show()
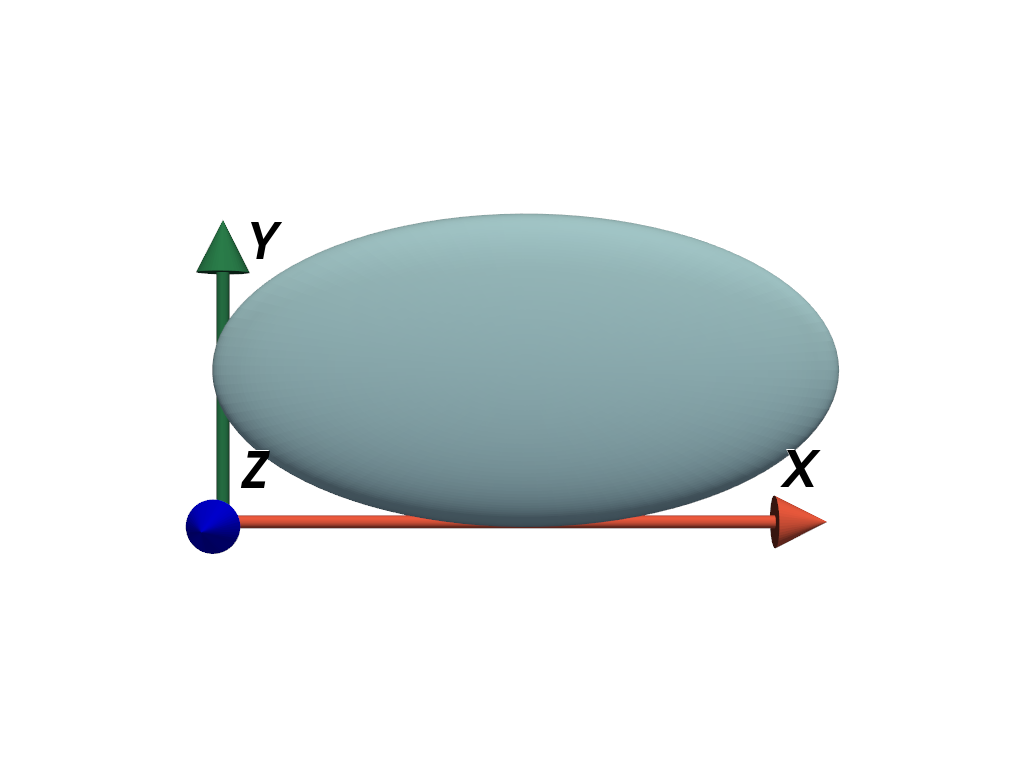
Add axes to the minimum extent of a mesh’s bounds.
>>> mesh = pv.ParametricEllipsoid(xradius=6, yradius=3, zradius=1)
>>> scale = mesh.bounds_size
>>> position = (mesh.bounds.x_min, mesh.bounds.y_min, mesh.bounds.z_min)
>>> axes = pv.AxesAssembly(
...     position=position, scale=scale, scale_mode='anti_distortion'
... )
>>> pl = pv.Plotter()
>>> _ = pl.add_mesh(mesh)
>>> _ = pl.add_actor(axes)
>>> pl.view_xy()
>>> pl.show()
Add the axes as a custom orientation widget with
add_orientation_widget().>>> axes = pv.AxesAssembly(symmetric_bounds=True)
>>> pl = pv.Plotter()
>>> _ = pl.add_mesh(pv.Cone())
>>> _ = pl.add_orientation_widget(
...     axes,
...     viewport=(0, 0, 0.5, 0.5),
... )
>>> pl.show()
Methods#
Get |
|
|
Set |
Attributes#
Position of the text label along each axis. |
|
Size of the text labels. |
|
Return or set the axes labels. |
|
Return or set entity scale. |
|
Set or return the scaling mode. |
|
Length of the shaft for each axis. |
|
Radius of the axes shafts. |
|
Shaft type for all axes. |
|
Length of the tip for each axis. |
|
Radius of the axes tips. |
|
Tip type for all axes. |
|
Return or set the user matrix. |
|
Color of the x-axis shaft and tip. |
|
Text label for the x-axis. |
|
Color of the y-axis shaft and tip. |
|
Text label for the y-axis. |
|
Color of the z-axis shaft and tip. |
|
Text label for the z-axis. |
