pyvista.ImageDataFilters.dilate#
- ImageDataFilters.dilate(
- kernel_size: int | VectorLike[int] = (3, 3, 3),
- scalars: str | None = None,
- *,
- binary: bool | VectorLike[float] | None = None,
- progress_bar: bool = False,
Morphologically dilate grayscale or binary data.
This filter may be used to dilate grayscale images with continuous data, binary images with a single background and foreground value, or multi-label images.
For binary inputs with two unique values, this filter uses vtkImageDilateErode3D by default to perform fast binary dilation over an ellipsoidal neighborhood. Otherwise, the slower class vtkImageContinuousDilate3D is used to perform generalized grayscale dilation by replacing each pixel with the maximum over an ellipsoidal neighborhood.
Optionally, the
binarykeyword may be used to explicitly control the behavior of the filter.Added in version 0.47.
- Parameters:
- kernel_size
int|VectorLike[int], default: (3, 3, 3) Determines the size of the kernel along the xyz-axes. Only non-singleton dimensions are dilated, e.g. a kernel size of
(3, 3, 1)and(3, 3, 3)produce the same result for 2D images.- scalars
str,optional Name of scalars to process. Defaults to currently active scalars.
- binarybool |
VectorLike[float],optional Control if binary dilation or continuous dilation is used.
If set, vtkImageDilateErode3D is used to strictly dilate with two values. Set this to
Trueto dilate the maximum value inscalarswith its minimum value, or set it to two values[background_value, foreground_value]to dilateforeground_valuewithbackground_valueexplicitly.Set this to
Falseto use vtkImageContinuousDilate3D to perform continuous dilation.By default,
binaryisTrueif the input has two unique values, andFalseotherwise.Note
If the input is a binary mask, setting
binary=Trueproduces the same output asbinary=False, but the filter is much more performant.Setting
binary=[background_value, foreground_value]is useful to isolate the dilation to two values, e.g. for multi-label segmentation masks.
- progress_barbool, default:
False Display a progress bar to indicate progress.
- kernel_size
- Returns:
pyvista.ImageDataDataset that has been dilated.
Notes
This filter only supports point data. For inputs with cell data, consider re-meshing the cell data as point data with
cells_to_points()or resampling the cell data to point data withcell_data_to_point_data().Examples
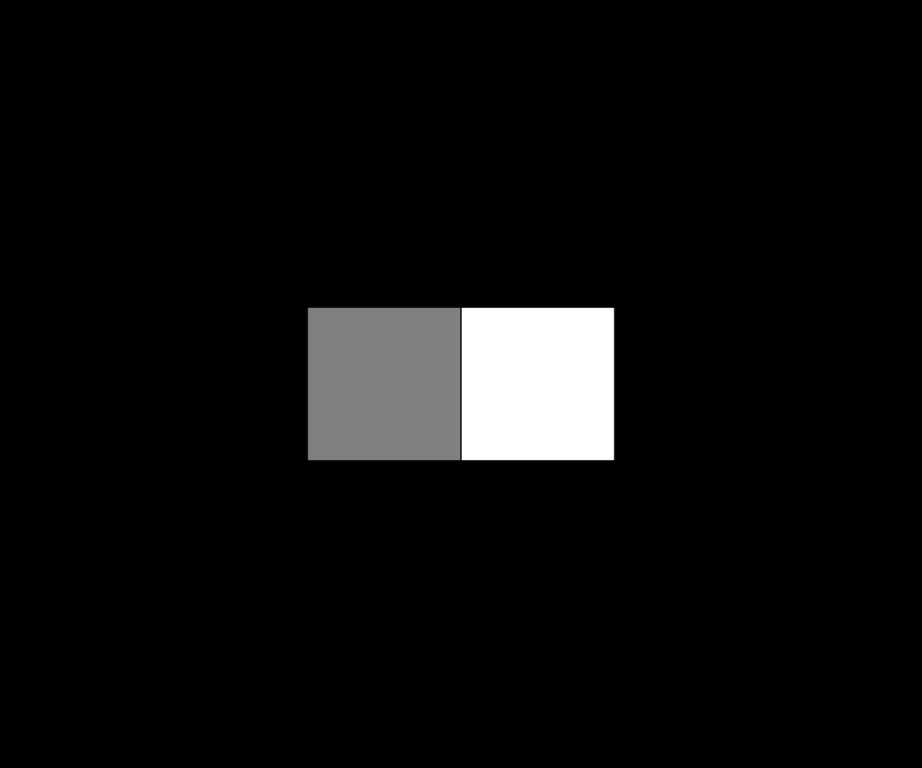
Create a toy example with two non-zero grayscale foreground values
paddedwith a background of zeros.>>> import pyvista as pv >>> im = pv.ImageData(dimensions=(2, 1, 1)) >>> im['data'] = [128, 255] >>> im = im.pad_image(pad_value=0, pad_size=2, dimensionality=2)
Define a custom plotter to plot pixels as cells.
>>> def image_plotter(image):
...     pl = pv.Plotter()
...     pl.add_mesh(
...         image.points_to_cells(),
...         cmap='grey',
...         clim=[0, 255],
...         show_scalar_bar=False,
...         show_edges=True,
...         lighting=False,
...         line_width=3,
...     )
...     pl.camera_position = 'xy'
...     pl.camera.tight()
...     pl.enable_anti_aliasing()
...     return pl
Show the image.
>>> image_plotter(im).show()
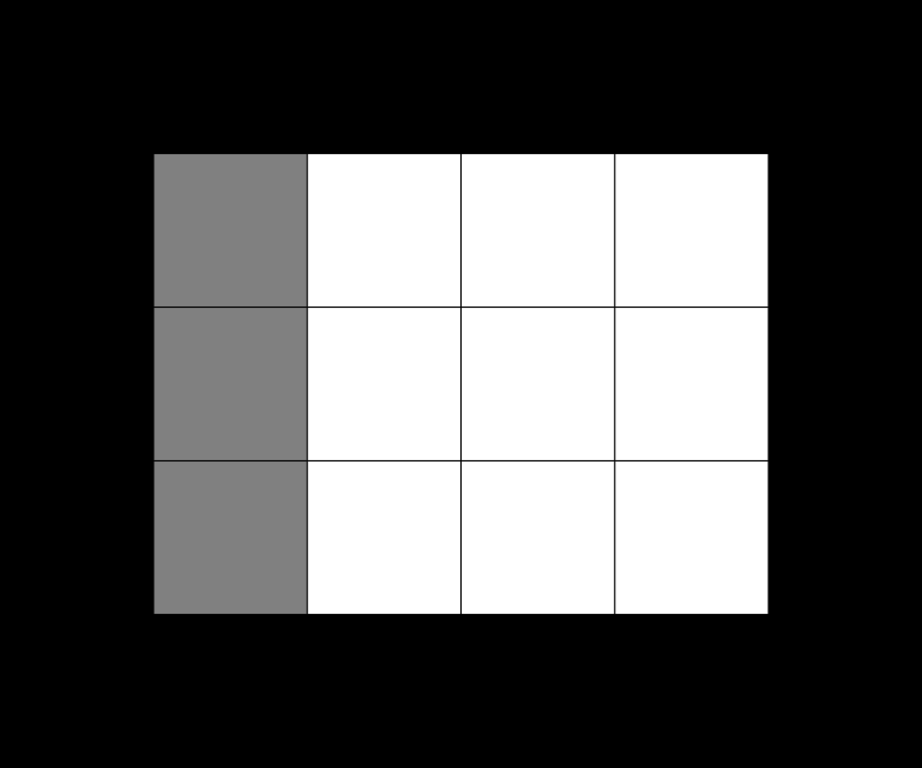
Dilate it with default settings. Observe that both foreground values are dilated.
>>> dilated = im.dilate()
>>> image_plotter(dilated).show()
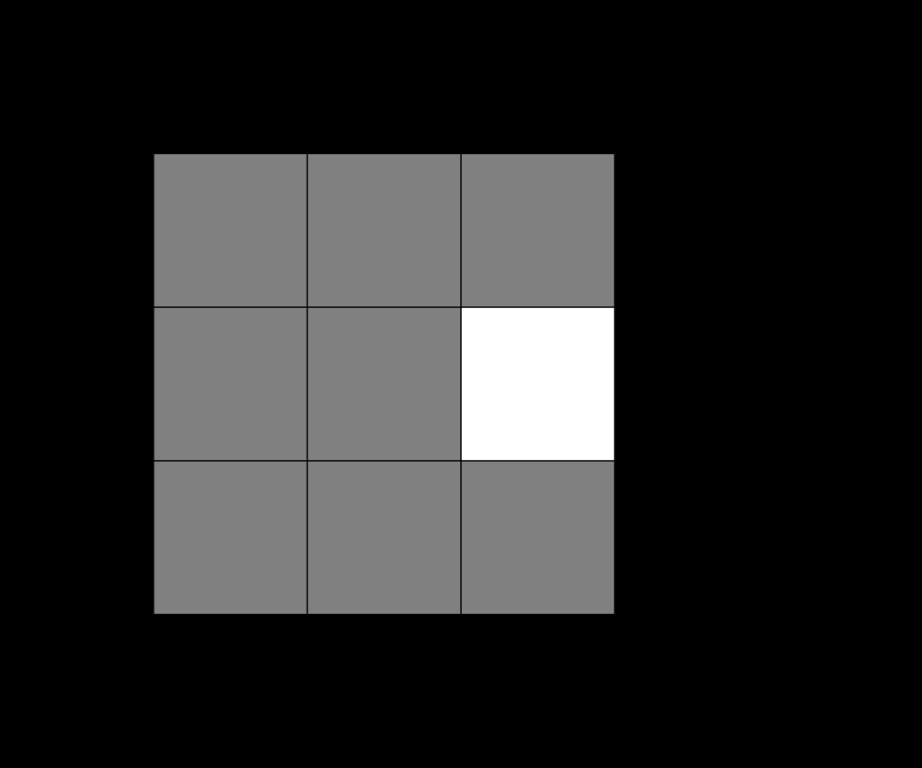
Use a larger kernel size.
>>> dilated = im.dilate(kernel_size=5)
>>> image_plotter(dilated).show()

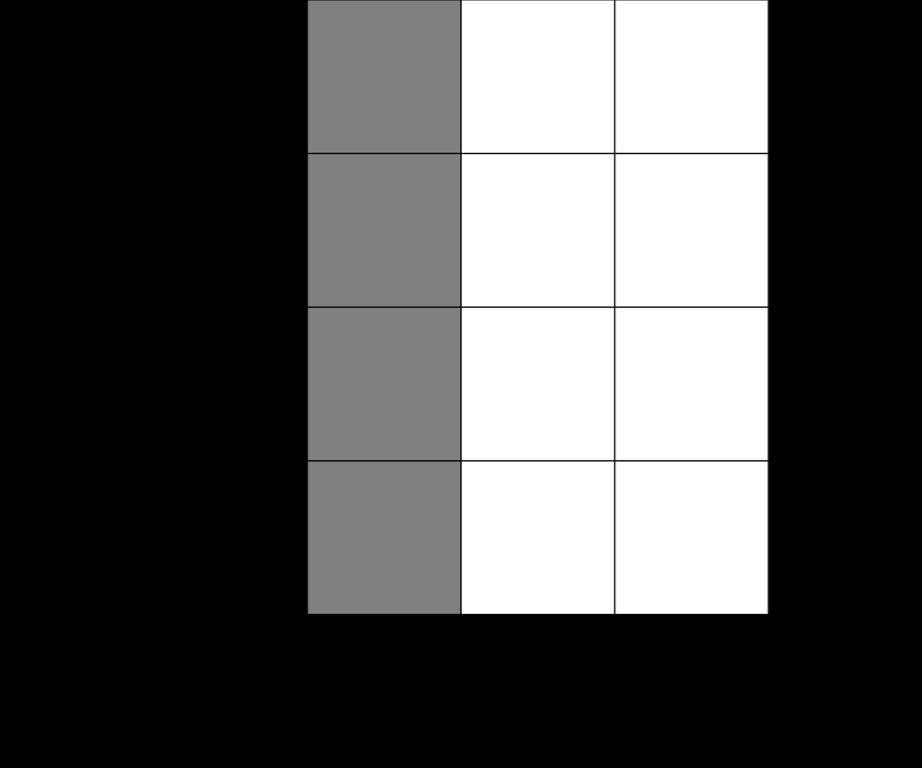
Use an asymmetric kernel.
>>> dilated = im.dilate(kernel_size=(2, 4, 1))
>>> image_plotter(dilated).show()
Use binary dilation. By default, the max value (
255in this example) is dilated with the min value (0in this example). All other values are unaffected.>>> dilated = im.dilate(binary=True) >>> image_plotter(dilated).show()

Equivalently, set the binary values for the dilation explicitly.
>>> dilated = im.dilate(binary=[0, 255])
>>> image_plotter(dilated).show()
Use binary dilation with the other foreground value instead.
>>> dilated = im.dilate(binary=[0, 128])
>>> image_plotter(dilated).show()