Note
Go to the end to download the full example code.
Slider Bar Widget#
The slider widget can be enabled and disabled by the
pyvista.Plotter.add_slider_widget() and
pyvista.Plotter.clear_slider_widgets() methods respectively.
This is one of the most versatile widgets as it can control a value that can
be used for just about anything.
One helper method we’ve added is the
pyvista.Plotter.add_mesh_threshold() method which leverages the
slider widget to control a thresholding value.
import pyvista as pv
from pyvista import examples

mesh = examples.download_knee_full()

p = pv.Plotter()
p.add_mesh_threshold(mesh)
p.show()
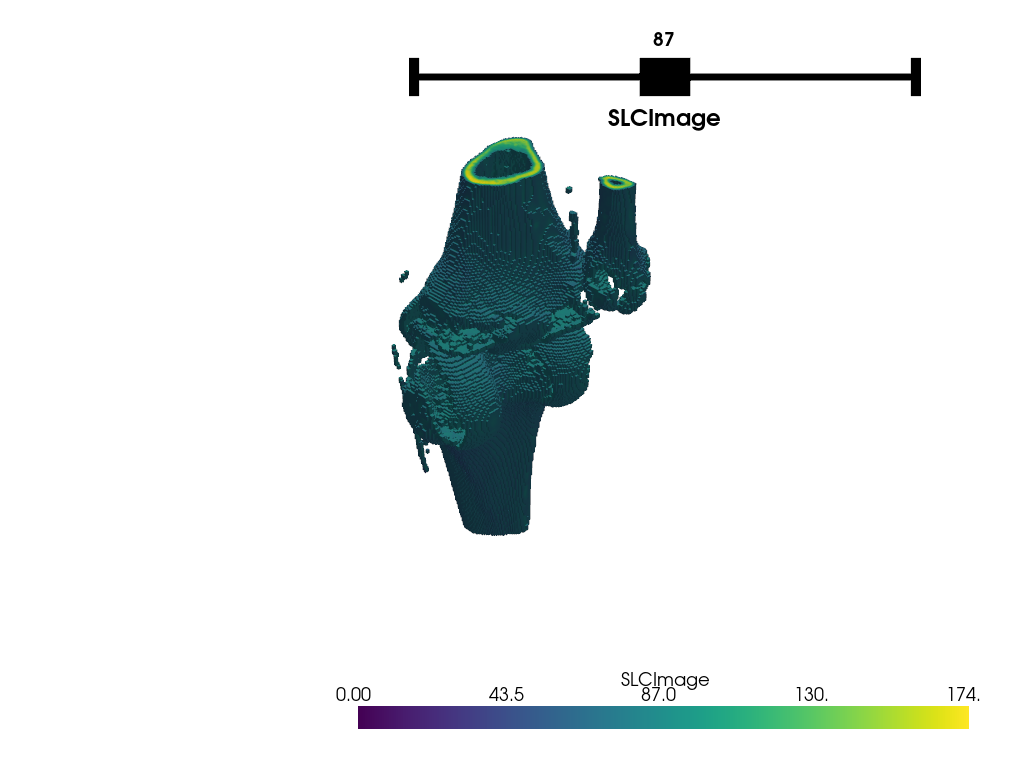
After interacting with the scene, the threshold mesh is available as:
[UnstructuredGrid (0x7f8bab86e8c0)
  N Cells:    295424
  N Points:   394455
  X Bounds:   3.615e+01, 1.178e+02
  Y Bounds:   1.085e+01, 1.345e+02
  Z Bounds:   0.000e+00, 2.000e+02
  N Arrays:   1]
And here is a screen capture of a user interacting with this

Custom Callback#
Or you could leverage a custom callback function that takes a single value
from the slider as its argument to do something like control the resolution
of a mesh. Again note the use of the name argument in add_mesh:
p = pv.Plotter()


def create_mesh(value):
    res = int(value)
    sphere = pv.Sphere(phi_resolution=res, theta_resolution=res)
    p.add_mesh(sphere, name='sphere', show_edges=True)


p.add_slider_widget(create_mesh, [5, 100], title='Resolution')
p.show()
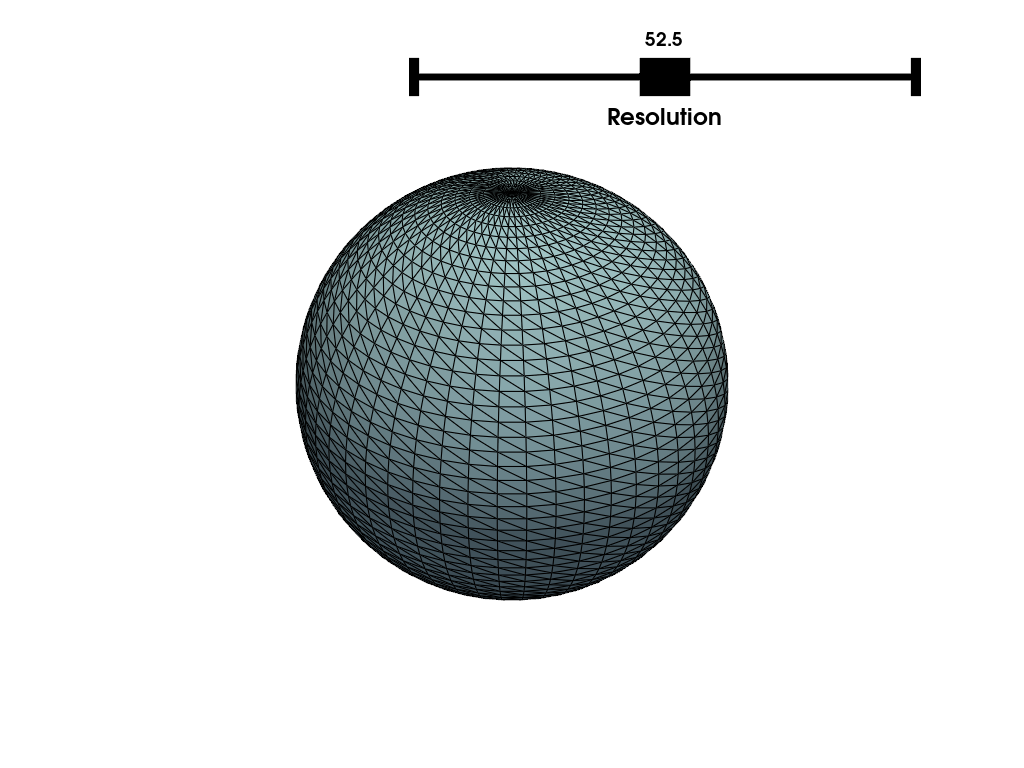
And here is a screen capture of a user interacting with this
%% .. tags:: widgets
Total running time of the script: (0 minutes 3.499 seconds)