Note
Go to the end to download the full example code.
Create PolyData#
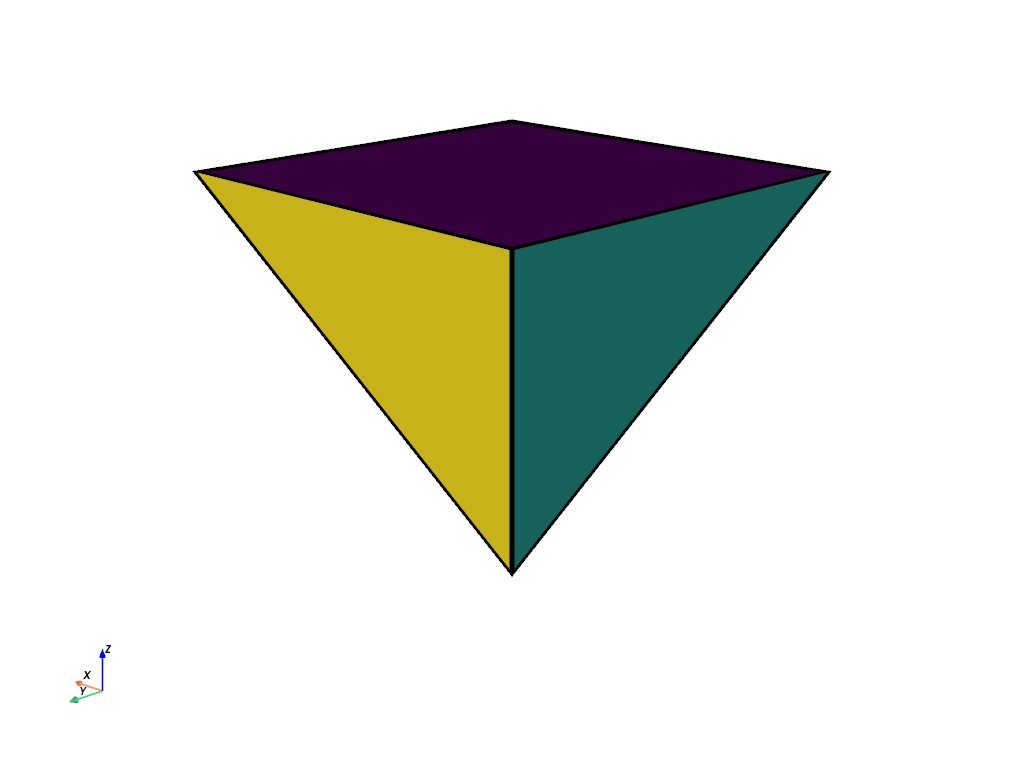
Creating a pyvista.PolyData (surface mesh) from vertices and faces.
from __future__ import annotations

import numpy as np

import pyvista as pv
A PolyData object can be created quickly from numpy arrays. The vertex array contains the locations of the points in the mesh and the face array contains the number of points of each face and the indices of the vertices which comprise that face.
# mesh points
vertices = np.array([[0, 0, 0], [1, 0, 0], [1, 1, 0], [0, 1, 0], [0.5, 0.5, -1]])

# mesh faces
faces = np.hstack(
    [
        [4, 0, 1, 2, 3],  # square
        [3, 0, 1, 4],  # triangle
        [3, 1, 2, 4],  # triangle
    ],
)

surf = pv.PolyData(vertices, faces)

# plot each face with a different color
surf.plot(
    scalars=np.arange(3),
    cpos=[-1, 1, 0.5],
    show_scalar_bar=False,
    show_edges=True,
    line_width=5,
)

Polygonal PolyData#
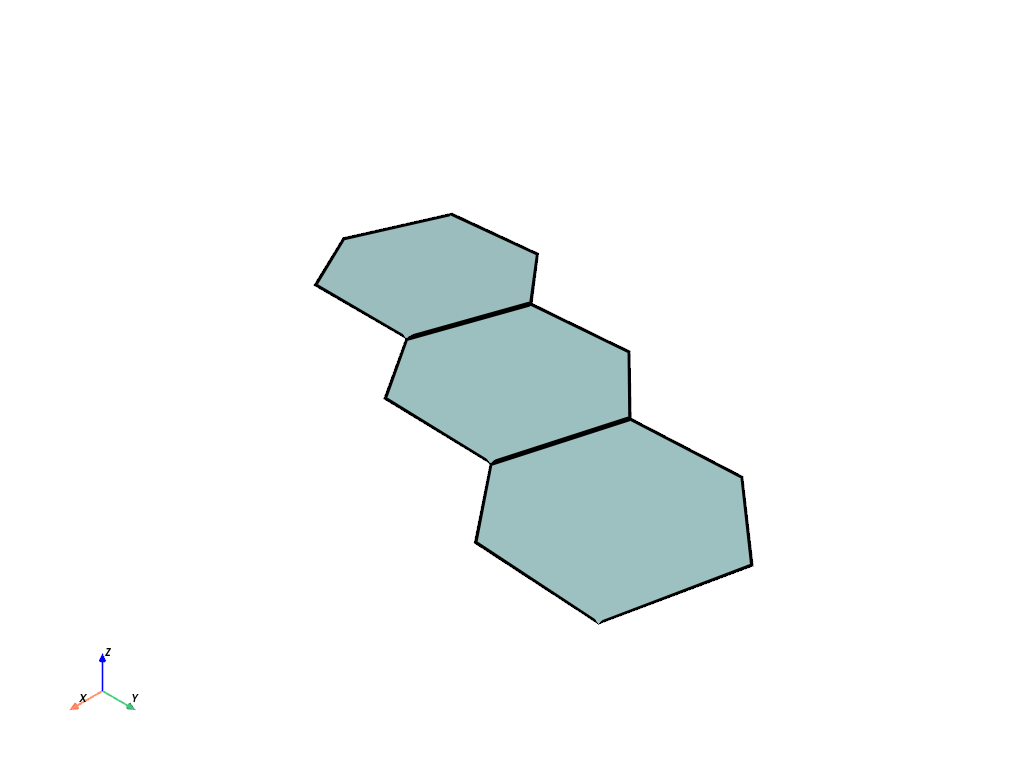
Create a three face polygonal mesh directly from points and faces.
Note
It is generally more efficient to use a numpy array rather than stacking lists for large meshes.
points = np.array(
    [
        [0.0480, 0.0349, 0.9982],
        [0.0305, 0.0411, 0.9987],
        [0.0207, 0.0329, 0.9992],
        [0.0218, 0.0158, 0.9996],
        [0.0377, 0.0095, 0.9992],
        [0.0485, 0.0163, 0.9987],
        [0.0572, 0.0603, 0.9965],
        [0.0390, 0.0666, 0.9970],
        [0.0289, 0.0576, 0.9979],
        [0.0582, 0.0423, 0.9974],
        [0.0661, 0.0859, 0.9941],
        [0.0476, 0.0922, 0.9946],
        [0.0372, 0.0827, 0.9959],
        [0.0674, 0.0683, 0.9954],
    ],
)


face_a = [6, 0, 1, 2, 3, 4, 5]
face_b = [6, 6, 7, 8, 1, 0, 9]
face_c = [6, 10, 11, 12, 7, 6, 13]
faces = np.concatenate((face_a, face_b, face_c))

mesh = pv.PolyData(points, faces)
mesh.plot(show_edges=True, line_width=5)

Total running time of the script: (0 minutes 0.610 seconds)