Note
Go to the end to download the full example code.
Control Global and Local Plotting Themes#
PyVista allows you to set global and local plotting themes to easily
set default plotting parameters. This example shows how to use the
Themes and set_plot_theme() function.
import pyvista as pv
from pyvista import examples
Define a simple plotting routine for comparing the themes.
mesh = examples.download_st_helens().warp_by_scalar()


def plot_example():
    pl = pv.Plotter()
    pl.add_mesh(mesh)
    pl.add_bounding_box()
    pl.show()
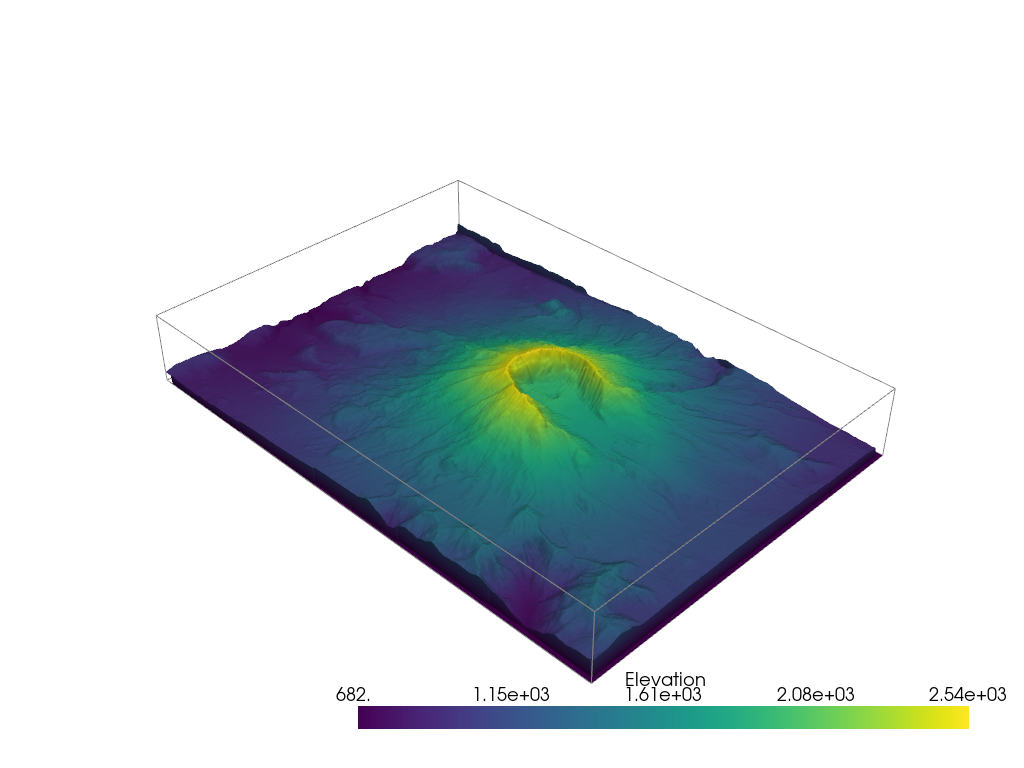
PyVista’s default color theme is chosen to be generally easy on your eyes and is best used when working long hours on your visualization project. The grey background and warm colormaps are chosen to make sure 3D renderings do not drastically change the brightness of your screen when working in dark environments.
Here’s an example of our default plotting theme - this is what you would see by default after running any of our examples locally.
pv.set_plot_theme('default')
plot_example()
PyVista also ships with a few plotting themes:
'ParaView': this is designed to mimic ParaView’s default plotting theme.'dark': this is designed to be night-mode friendly with dark backgrounds and color schemes.'document': this is built for use in document style plotting and making publication quality figures.
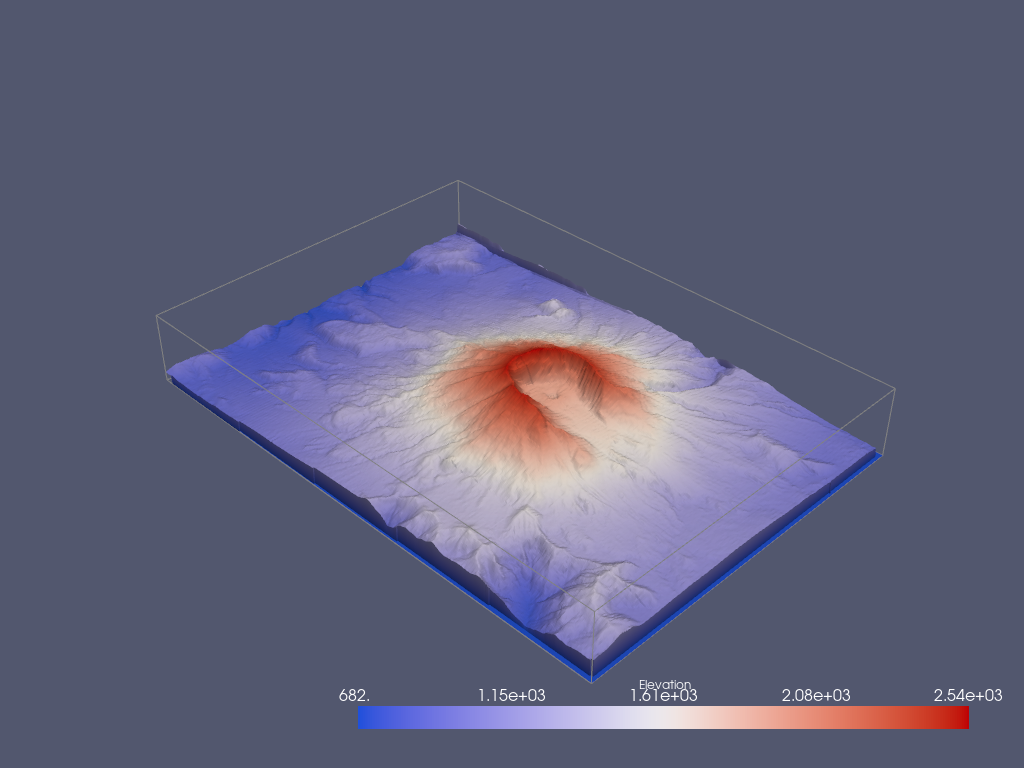
Demo the 'ParaView' theme.
pv.set_plot_theme('paraview')

plot_example()
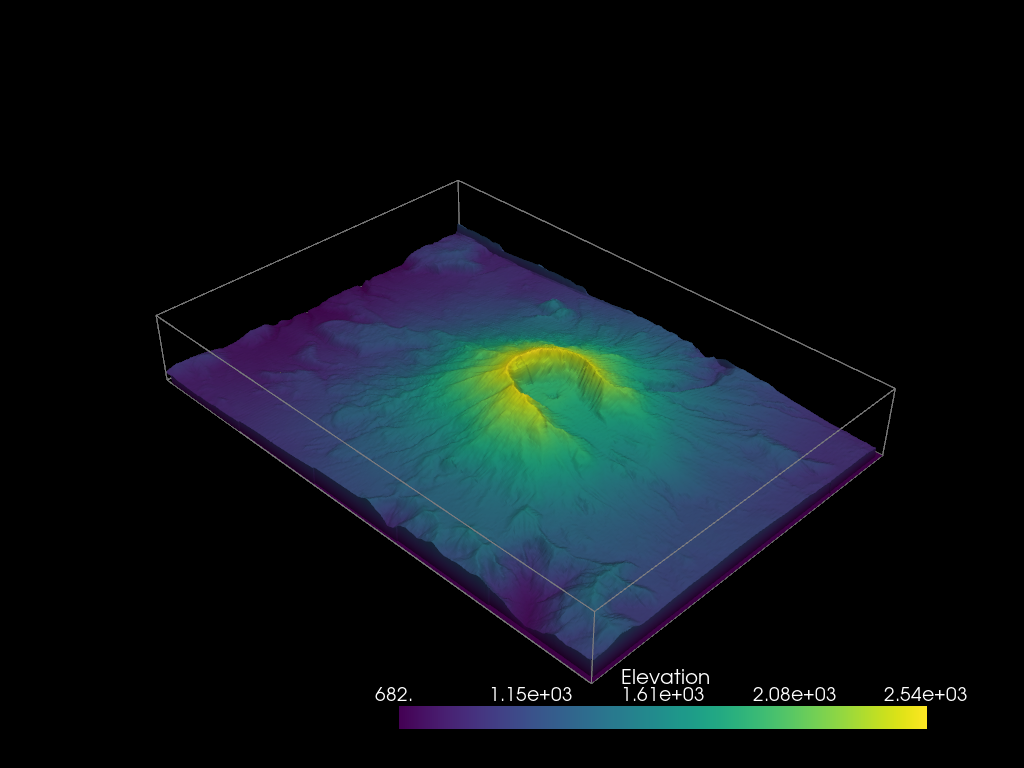
Demo the 'dark' theme.
pv.set_plot_theme('dark')

plot_example()
Demo the 'document' theme. This theme is used on our online examples.
pv.set_plot_theme('document')

plot_example()

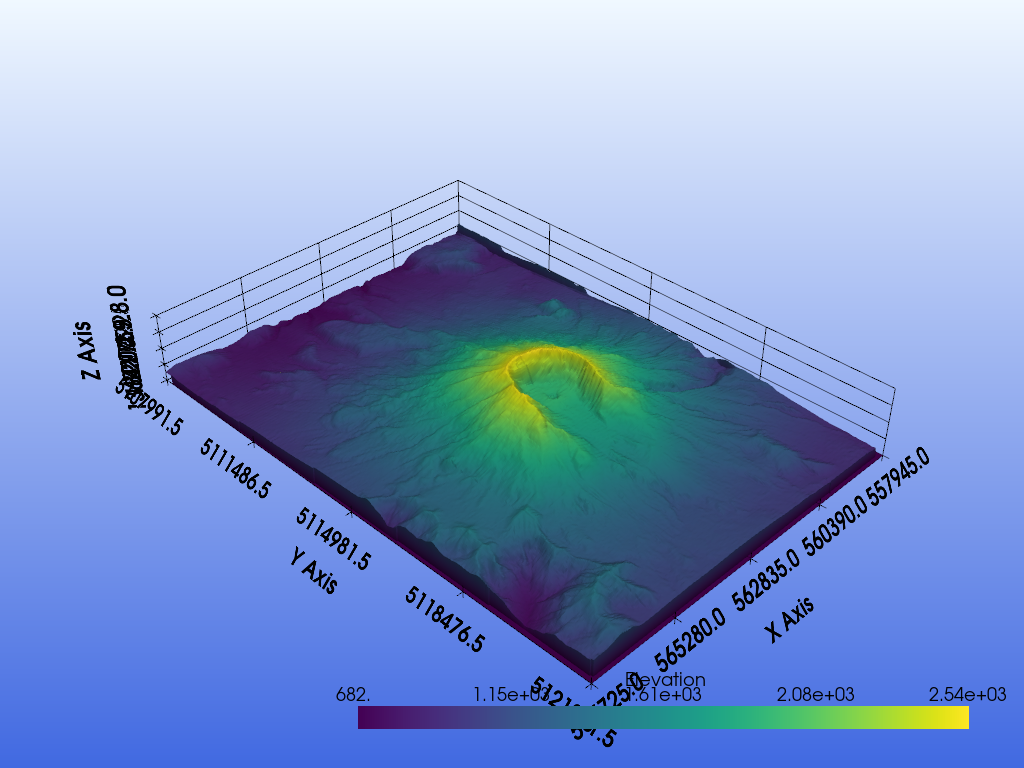
Note that you can also use color gradients for the background of the plotting window.
pl = pv.Plotter()
pl.add_mesh(mesh)
pl.show_grid()
# Here we set the gradient
pl.set_background('royalblue', top='aliceblue')
cpos = pl.show()
Modifying the Global Theme#
You can control how meshes are displayed by setting individual
parameters when plotting like mesh.plot(show_edges=True), or by
setting a global theme. You can also control individual parameters
how all meshes are displayed by default via pyvista.global_theme.
Here, we print out the current global defaults for all pyvista
meshes. These values have been changed by the previous “Document”
theme.
Document Theme
--------------
Background               : Color(name='white', hex='#ffffffff', opacity=255)
Jupyter backend          : None
Full screen              : False
Window size              : [1024, 768]
Camera                   : <pyvista.plotting.themes._CameraConfig object at 0x7fea1962b8c0>
Notebook                 : None
Font                     :
    Family               : arial
    Size                 : 18
    Title size           : 18
    Label size           : 18
    Color                : Color(name='black', hex='#000000ff', opacity=255)
    Float format         : None
Auto close               : True
Colormap                 : viridis
Color                    : Color(name='light_blue', hex='#add8e6ff', opacity=255)
Color Cycler             : None
NaN color                : Color(name='dark_gray', hex='#a9a9a9ff', opacity=255)
Edge color               : Color(name='black', hex='#000000ff', opacity=255)
Outline color            : Color(name='black', hex='#000000ff', opacity=255)
Floor color              : Color(name='gray', hex='#808080ff', opacity=255)
Colorbar orientation     : horizontal
Colorbar - horizontal    :
    Width                : 0.6
    Height               : 0.08
    X Position           : 0.35
    Y Position           : 0.05
Colorbar - vertical      :
    Width                : 0.08
    Height               : 0.45
    X Position           : 0.9
    Y Position           : 0.02
Show scalar bar          : True
Show edges               : False
Lighting                 : True
Interactive              : False
Interactor style         : trackball_style
Render points as spheres : False
Transparent Background   : False
Title                    : PyVista
Axes                     : Axes configuration
    X Color              : Color(name='tomato', hex='#ff6347ff', opacity=255)
    Y Color              : Color(name='sea_green', hex='#2e8b57ff', opacity=255)
    Z Color              : Color(name='blue', hex='#0000ffff', opacity=255)
    Use Box              : False
    Show                 : True
Multi-samples            : 8
Multi-renderer Split Pos : None
Volume mapper            : smart
Smooth shading           : False
Depth peeling            :
    Number               : 4
    Occlusion ratio      : 0.0
    Enabled              : False
Silhouette               :
    Color                : Color(name='black', hex='#000000ff', opacity=255)
    Line width           : 2
    Opacity              : 1.0
    Feature angle        : None
    Decimate             : None
Slider Styles            :
    Classic              :
        Slider length    : 0.02
        Slider width     : 0.04
        Slider color     : Color(name='gray', hex='#808080ff', opacity=255)
        Tube width       : 0.005
        Tube color       : Color(name='white', hex='#ffffffff', opacity=255)
        Cap opacity      : 1.0
        Cap length       : 0.01
        Cap width        : 0.02
    Modern               :
        Slider length    : 0.02
        Slider width     : 0.04
        Slider color     : Color(hex='#6e7175ff', opacity=255)
        Tube width       : 0.04
        Tube color       : Color(hex='#b2b3b5ff', opacity=255)
        Cap opacity      : 0.0
        Cap length       : 0.01
        Cap width        : 0.02
Return Camera Position   : True
Hidden Line Removal      : False
Anti-Aliasing            : msaa
Split sharp edges        : False
Sharp edges feat. angle  : 30.0
Before close callback    : None
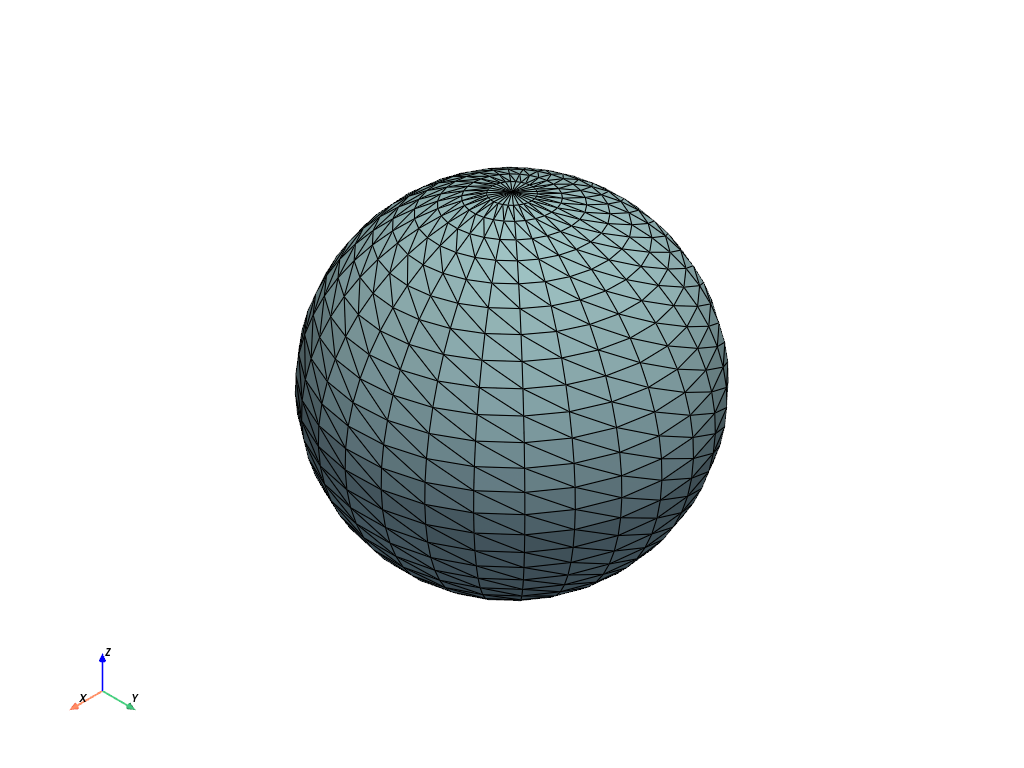
By default, edges are not shown on meshes unless explicitly
specified when plotting a mesh via show_edges=True. You can
change this default behavior globally by changing the default
parameter.
pv.global_theme.show_edges = True
cpos = pv.Sphere().plot()
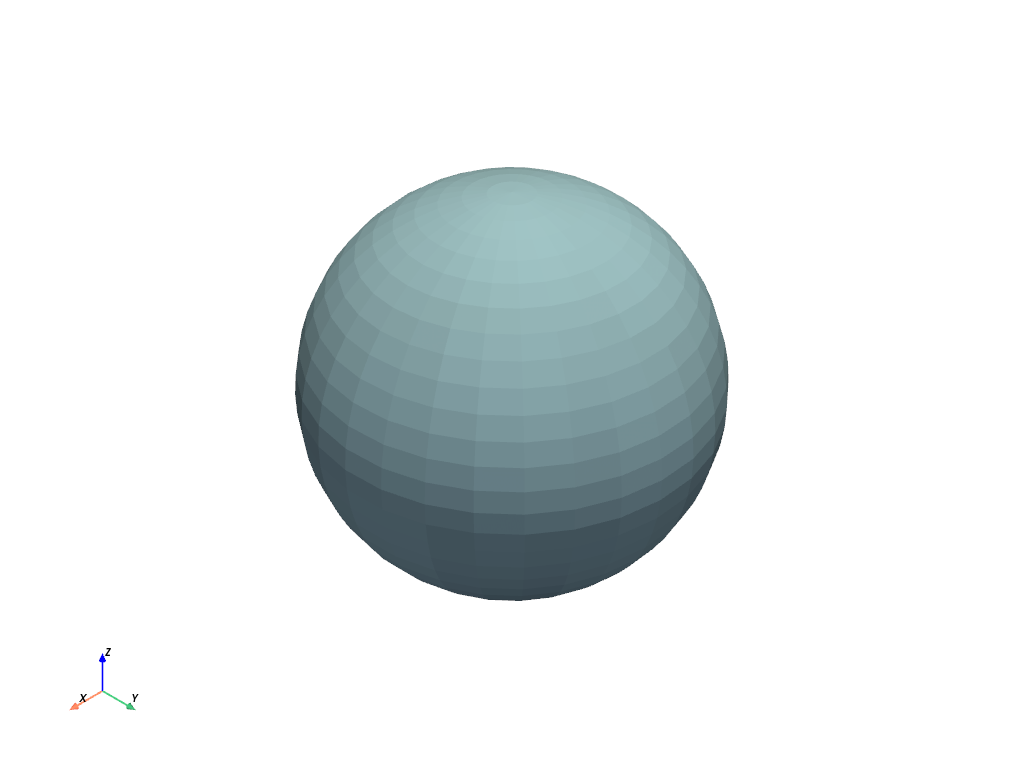
You can reset pyvista to default behavior with restore_defaults.
Note that the figure’s color was reset to the default “white” color
rather than the ‘lightblue’ color default with the document theme. Under
the hood, each theme applied changes the global plot defaults stored
within pyvista.global_theme.
pv.global_theme.restore_defaults()
cpos = pv.Sphere().plot()
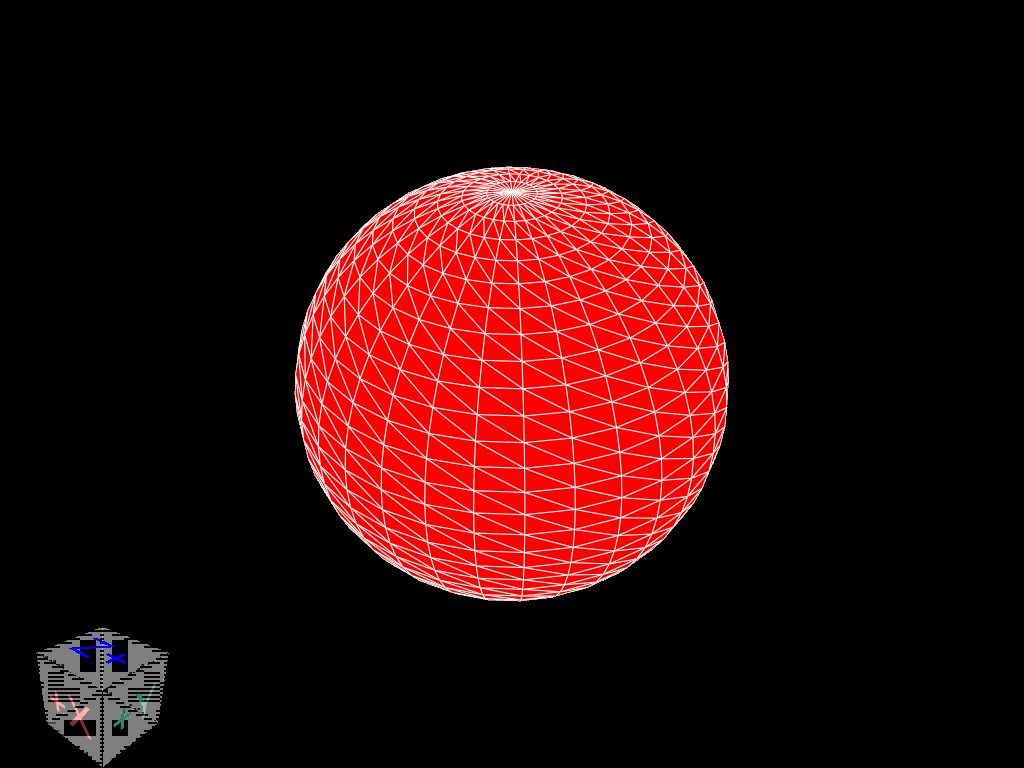
Creating a Custom Theme and Applying it Globally#
You can create a custom theme by modifying one of the existing themes and then loading it into the global plotting defaults.
Here, we create a dark theme that plots meshes red by default while showing edges.
from pyvista import themes

my_theme = themes.DarkTheme()
my_theme.color = 'red'
my_theme.lighting = False
my_theme.show_edges = True
my_theme.axes.box = True

pv.global_theme.load_theme(my_theme)
cpos = pv.Sphere().plot()
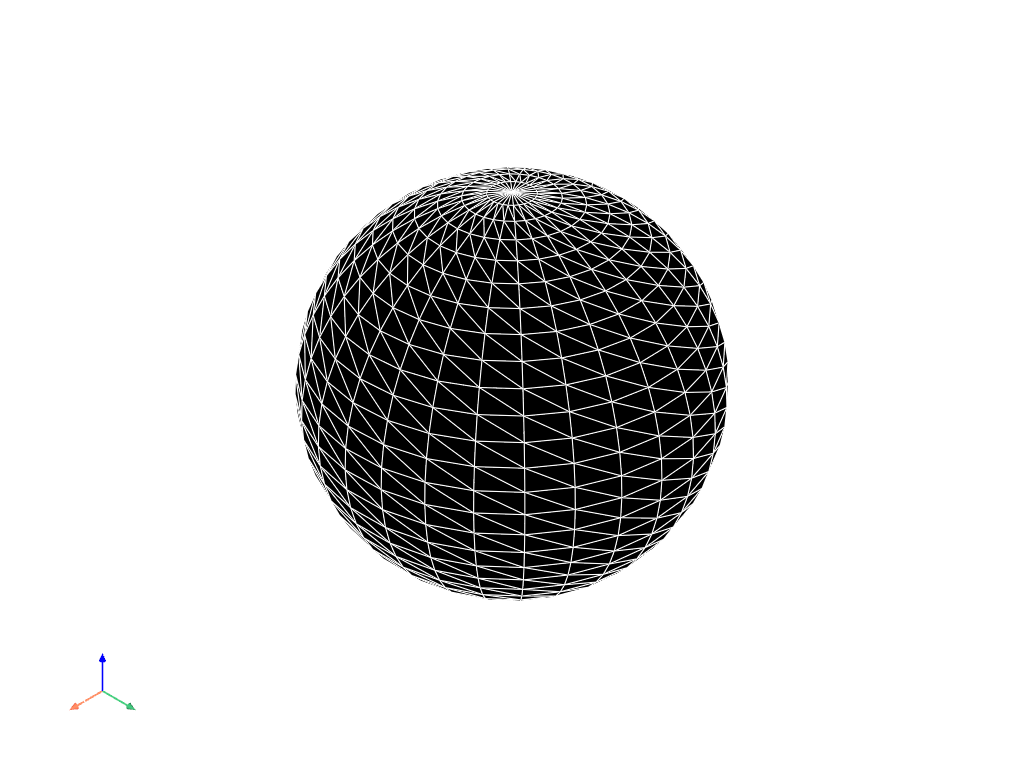
Creating a Custom Theme and Applying it to a Single Plotter#
In this example, we create a custom theme from the base “default”
theme and then apply it to a single plotter. Note that this does
not change the behavior of the global “defaults”, which are still
set to the modified DarkTheme.
This approach carries the advantage that you can maintain several themes and apply them to one or more plotters.
from pyvista import themes

my_theme = themes.DocumentTheme()
my_theme.color = 'black'
my_theme.lighting = True
my_theme.show_edges = True
my_theme.edge_color = 'white'
my_theme.background = 'white'

cpos = pv.Sphere().plot(theme=my_theme)
Alternatively, set the theme of an instance of Plotter.
pl = pv.Plotter(theme=my_theme)
pl.add_mesh(pv.Cube())
cpos = pl.show()
Reset to use the document theme
pv.set_plot_theme('document')
Total running time of the script: (0 minutes 9.915 seconds)
