Note
Go to the end to download the full example code.
Plane Widget#
The plane widget can be enabled and disabled by the
pyvista.Plotter.add_plane_widget() and
pyvista.Plotter.clear_plane_widgets() methods respectively.
As with all widgets, you must provide a custom callback method to utilize that
plane. Considering that planes are most commonly used for clipping and slicing
meshes, we have included two helper methods for doing those tasks.
Let’s use a plane to clip a mesh:
import pyvista as pv
from pyvista import examples

vol = examples.download_brain()

p = pv.Plotter()
p.add_mesh_clip_plane(vol)
p.show()
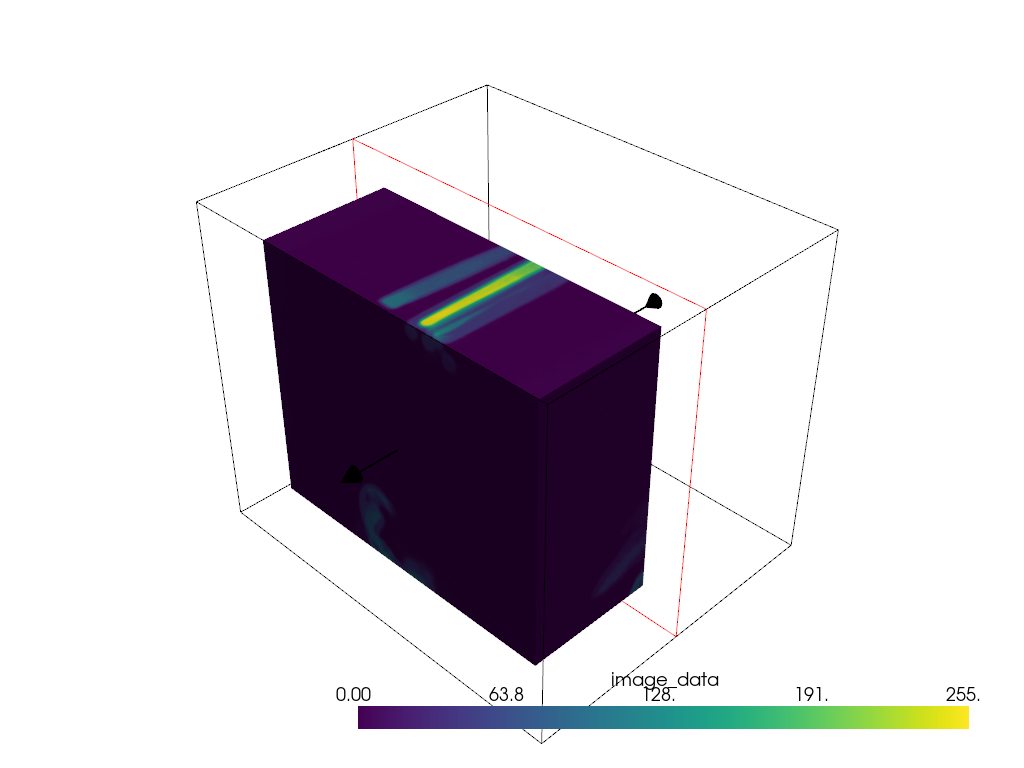
After interacting with the scene, the clipped mesh is available as:
[UnstructuredGrid (0x7f8bab86f5e0)
  N Cells:    3538080
  N Points:   3613484
  X Bounds:   9.000e+01, 1.800e+02
  Y Bounds:   0.000e+00, 2.160e+02
  Z Bounds:   0.000e+00, 1.800e+02
  N Arrays:   2]
And here is a screen capture of a user interacting with this
Or you could slice a mesh using the plane widget:
p = pv.Plotter()
p.add_mesh_slice(vol)
p.show()
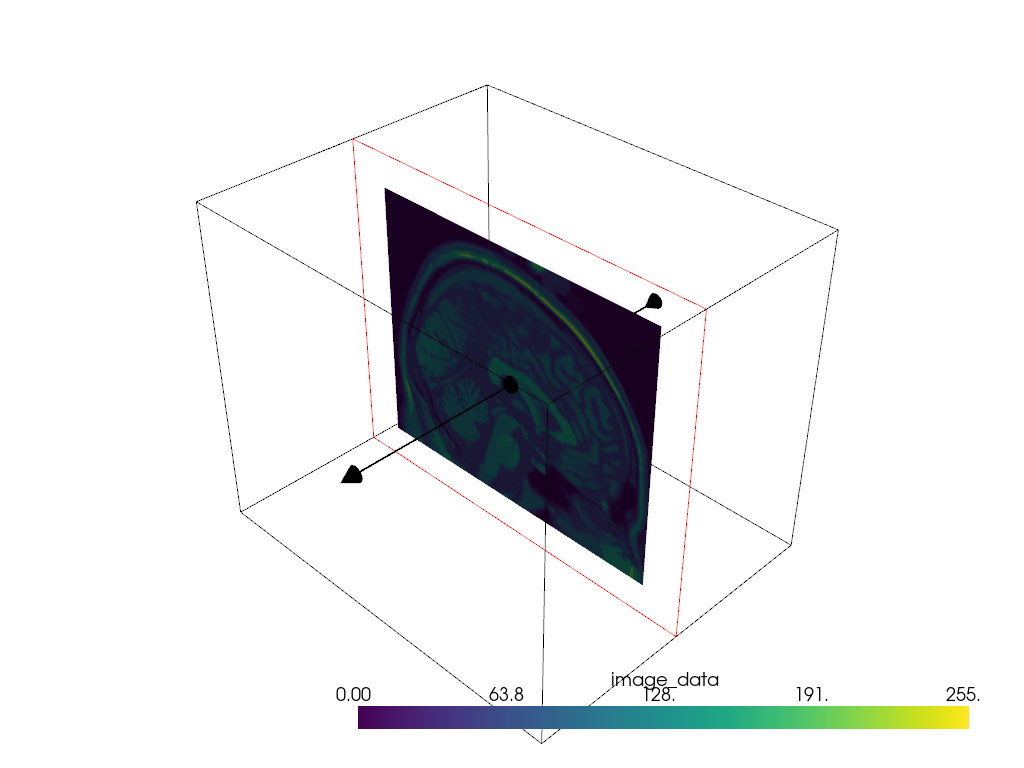
After interacting with the scene, the slice is available as:
[PolyData (0x7f8ba3540fa0)
  N Cells:    38880
  N Points:   39277
  N Strips:   0
  X Bounds:   9.000e+01, 9.000e+01
  Y Bounds:   0.000e+00, 2.160e+02
  Z Bounds:   0.000e+00, 1.800e+02
  N Arrays:   1]
And here is a screen capture of a user interacting with this
Or you could leverage the plane widget for some custom task like glyphing a
vector field along that plane. Note that we have to pass a name when
calling add_mesh to ensure that there is only one set of glyphs plotted
at a time.
import pyvista as pv
from pyvista import examples

mesh = examples.download_carotid()

p = pv.Plotter()
p.add_mesh(mesh.contour(8).extract_largest(), opacity=0.5)


def my_plane_func(normal, origin):
    slc = mesh.slice(normal=normal, origin=origin)
    arrows = slc.glyph(orient='vectors', scale='scalars', factor=0.01)
    p.add_mesh(arrows, name='arrows')


p.add_plane_widget(my_plane_func)
p.show_grid()
p.add_axes()
p.show()
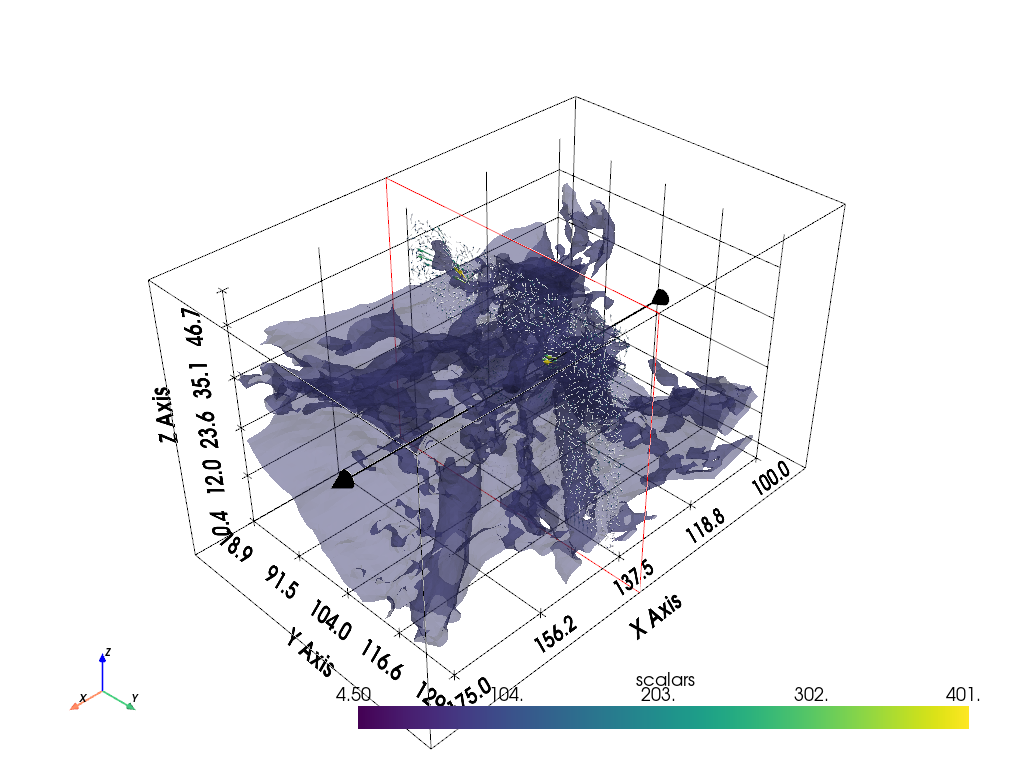
And here is a screen capture of a user interacting with this
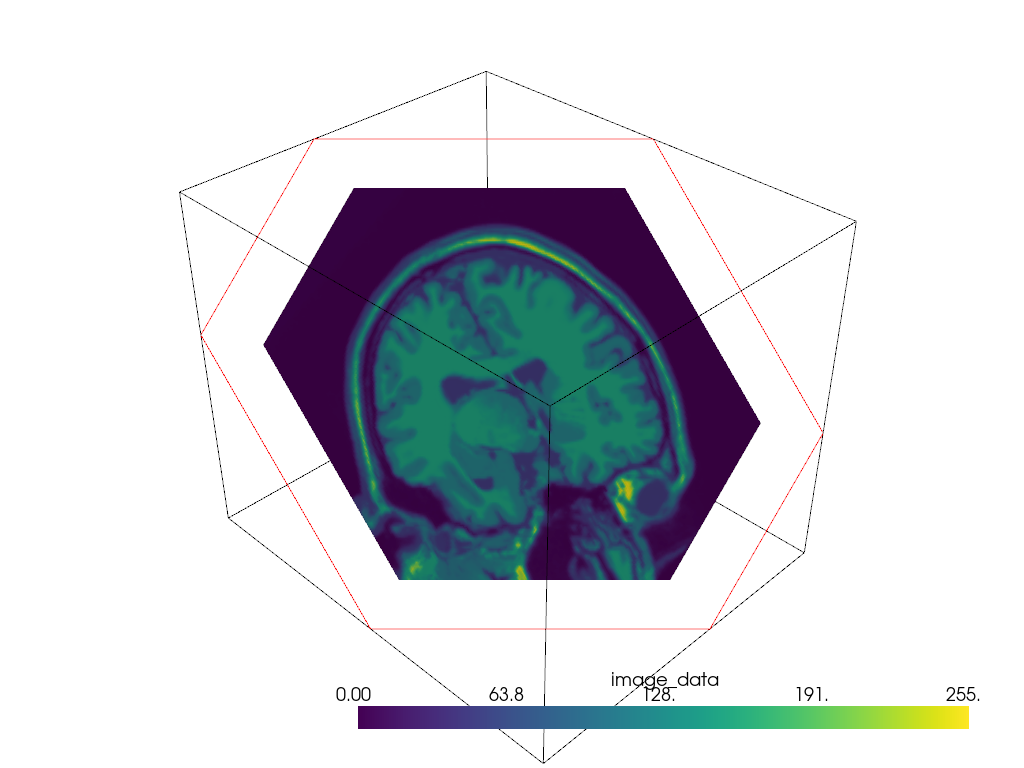
Further, a user can disable the arrow vector by setting the
normal_rotation argument to False. For example, here we
programmatically set the normal vector on which we want to translate the
plane and we disable the arrow to prevent its rotation.
p = pv.Plotter()
p.add_mesh_slice(vol, normal=(1, 1, 1), normal_rotation=False)
p.show()
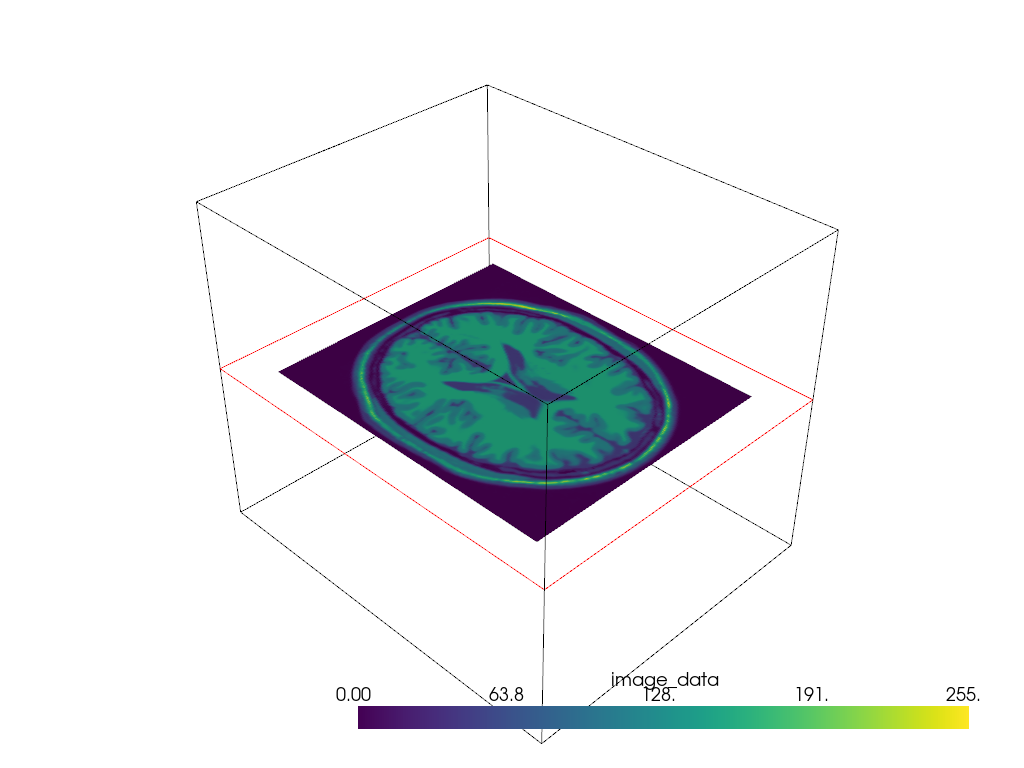
The vector is also forcibly disabled anytime the assign_to_axis argument
is set.
p = pv.Plotter()
p.add_mesh_slice(vol, assign_to_axis='z')
p.show()
Additionally, users can modify the interaction event that triggers the
callback functions handled by the different plane widget helpers through the
interaction_event keyword argument when available. For example,
we can have continuous slicing by using the InteractionEvent observer.
import vtk

p = pv.Plotter()
p.add_mesh_slice(vol, assign_to_axis='z', interaction_event=vtk.vtkCommand.InteractionEvent)
p.show()

And here is a screen capture of a user interacting with this continuously via
the InteractionEvent observer:
Total running time of the script: (0 minutes 11.056 seconds)