Note
Go to the end to download the full example code.
Shadows#
Demonstrate the usage of lights and shadows in PyVista with Light
objects and the enable_shadows() plotting method.
import numpy as np

import pyvista as pv
from pyvista import examples

mesh = examples.download_dragon()
mesh.rotate_x(90, inplace=True)
mesh.rotate_z(120, inplace=True)
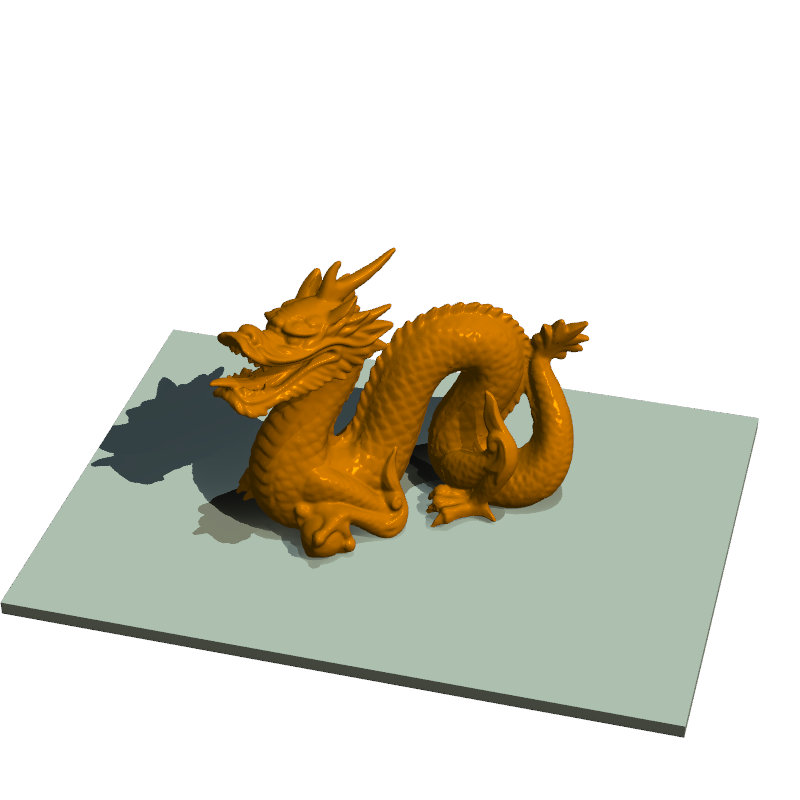
Using two lights, plot the Stanford Dragon with shadows.
Note
VTK has known issues when rendering shadows on certain window
sizes. Be prepared to experiment with the window_size
parameter. An initial window size of (1000, 1000) seems to
work well, which can be manually resized without issue.
light1 = pv.Light(
    position=(0, 0.2, 1.0),
    focal_point=(0, 0, 0),
    color=[1.0, 1.0, 0.9843, 1.0],  # Color temp. 5400 K
    intensity=0.3,
)

light2 = pv.Light(
    position=(0, 1.0, 1.0),
    focal_point=(0, 0, 0),
    color=[1.0, 0.83921, 0.6666, 1.0],  # Color temp. 2850 K
    intensity=1,
)

# Add a thin box below the mesh
bnds = mesh.bounds
x_size, y_size, z_size = mesh.bounds_size

expand = 1.0
height = z_size * 0.05
center = np.array(mesh.center)
center -= [0, 0, mesh.center[2] - bnds.z_min + height / 2]
width = x_size * (1 + expand)
length = y_size * (1 + expand)
base_mesh = pv.Cube(center=center, x_length=width, y_length=length, z_length=height)

# rotate base and mesh to get a better view
base_mesh.rotate_z(30, inplace=True)
mesh.rotate_z(30, inplace=True)

# create the plotter with custom lighting
pl = pv.Plotter(lighting=None, window_size=(800, 800))
pl.add_light(light1)
pl.add_light(light2)
pl.add_mesh(
    mesh,
    ambient=0.2,
    diffuse=0.5,
    specular=0.5,
    specular_power=90,
    smooth_shading=True,
    color='orange',
)
pl.add_mesh(base_mesh)
pl.enable_shadows()
pl.camera.zoom(1.5)
pl.show()
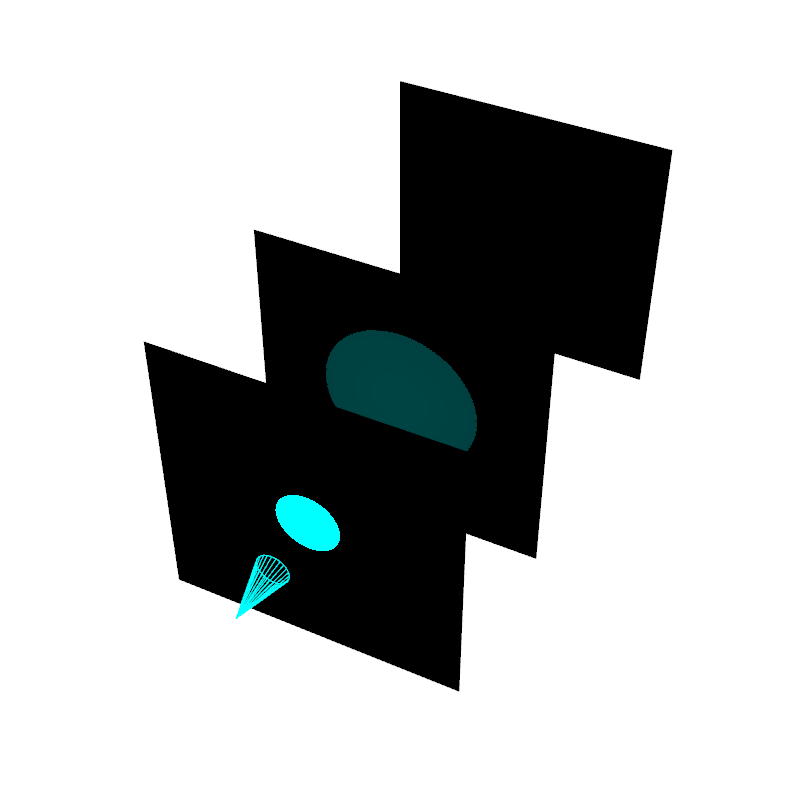
Show light penetrating several planes. Adjust the light intensity
and the shadow_attenuation to change how many planes the
light can go through.
pl = pv.Plotter(lighting=None, window_size=(800, 800))

# add several planes
for plane_y in [2, 5, 10]:
    screen = pv.Plane(center=(0, plane_y, 0), direction=(0, 1, 0), i_size=5, j_size=5)
    pl.add_mesh(screen, color='white')

light = pv.Light(
    position=(0, 0, 0),
    focal_point=(0, 1, 0),
    color='cyan',
    intensity=15,
    positional=True,
    cone_angle=15,
    attenuation_values=(2, 0, 0),
)
light.show_actor()

pl.add_light(light)
pl.view_vector((1, -2, 2))
pl.enable_shadows()
pl.show()
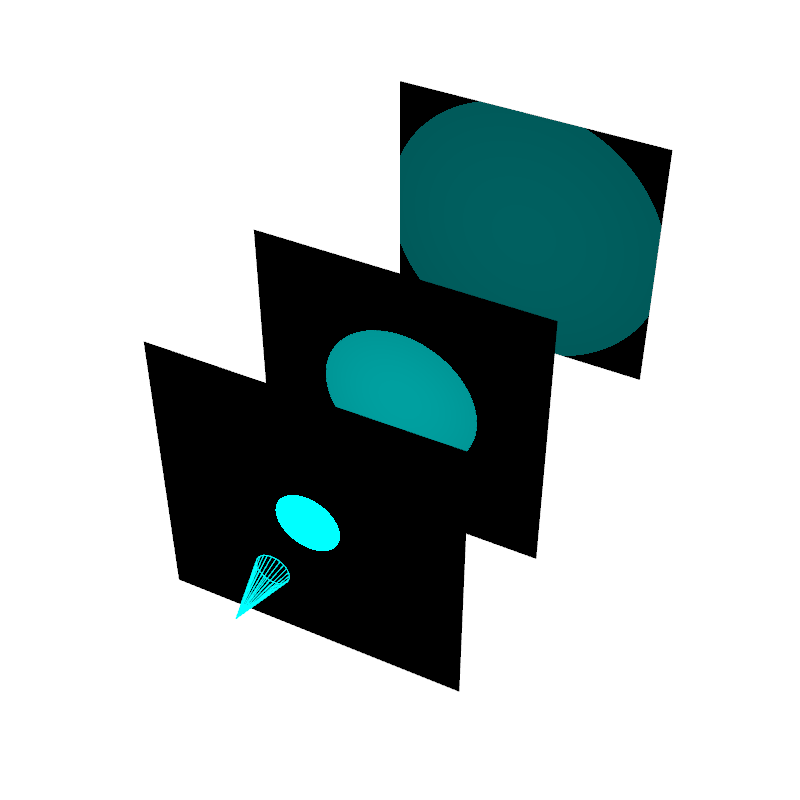
Here, we use a lower shadow_attenuation value to demonstrate how the light can travel through more planes.
pl = pv.Plotter(lighting=None, window_size=(800, 800))

# add several planes
for plane_y in [2, 5, 10]:
    screen = pv.Plane(center=(0, plane_y, 0), direction=(0, 1, 0), i_size=5, j_size=5)
    pl.add_mesh(screen, color='white')

light = pv.Light(
    position=(0, 0, 0),
    focal_point=(0, 1, 0),
    color='cyan',
    intensity=15,
    cone_angle=15,
    shadow_attenuation=0.95,
    positional=True,
    attenuation_values=(2, 0, 0),
)
light.show_actor()

pl.add_light(light)
pl.view_vector((1, -2, 2))
pl.enable_shadows()
pl.show()
Total running time of the script: (0 minutes 3.241 seconds)
