Getting Started#
This guide is here to help you start creating interactive 3D plots with PyVista with the help of our examples and tutorials.
Here’s a quick demo of PyVista running within JupyterLab.
Here’s a quick demo of PyVista running within a terminal using IPython.
Installation#
The only prerequisite for installing PyVista is Python itself. If you don’t have Python yet and want the simplest way to get started, we recommend you use the Anaconda Distribution.
Installing a specific version? Installing from source? Check the Installation page.
First Steps#
We’ve provided a variety of resources for you to get used to PyVista’s API through a range of examples and tutorials.
Probably the best way for you to get used to PyVista is to visit our dedicated tutorial.
Learn more about why we created PyVista as an interface to the Visualization Toolkit (VTK).
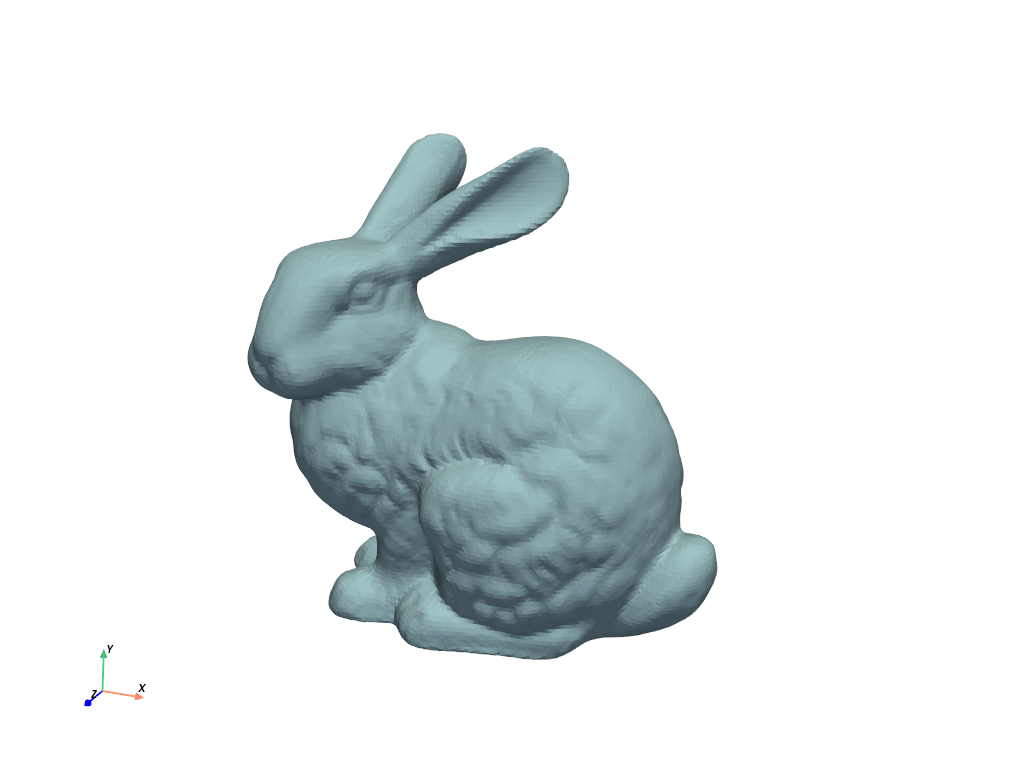
import pyvista as pv

mesh = pv.read('bunny.stl')
mesh.plot()

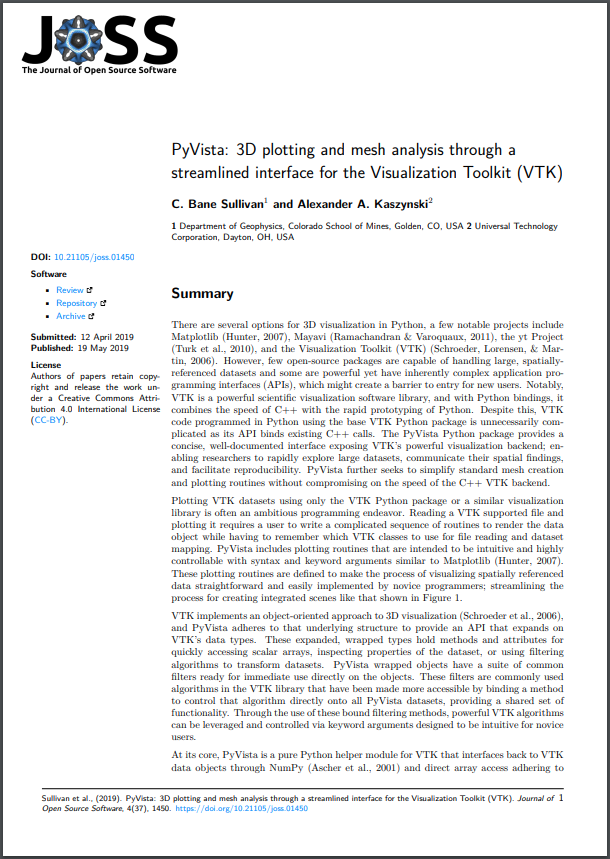
Using PyVista in your research? Please consider citing or acknowledging us. We have a JOSS Publication!

Take a look at third party projects using PyVista.
Support#
For general questions about the project, its applications, or about software usage, please create a discussion in pyvista/discussions where the community can collectively address your questions. You are also welcome to join us on Slack.
Citing PyVista#
There is a paper about PyVista.
If you are using PyVista in your scientific research, please help our scientific visibility by citing our work. Head over to Citing PyVista to learn more about citing PyVista.