Note
Go to the end to download the full example code.
Saving Screenshots#
import matplotlib.pyplot as plt

import pyvista as pv
from pyvista import examples

# Get a sample file
filename = examples.planefile
mesh = pv.read(filename)
You can also take a screenshot without creating an interactive plot window
using the pyvista.Plotter:
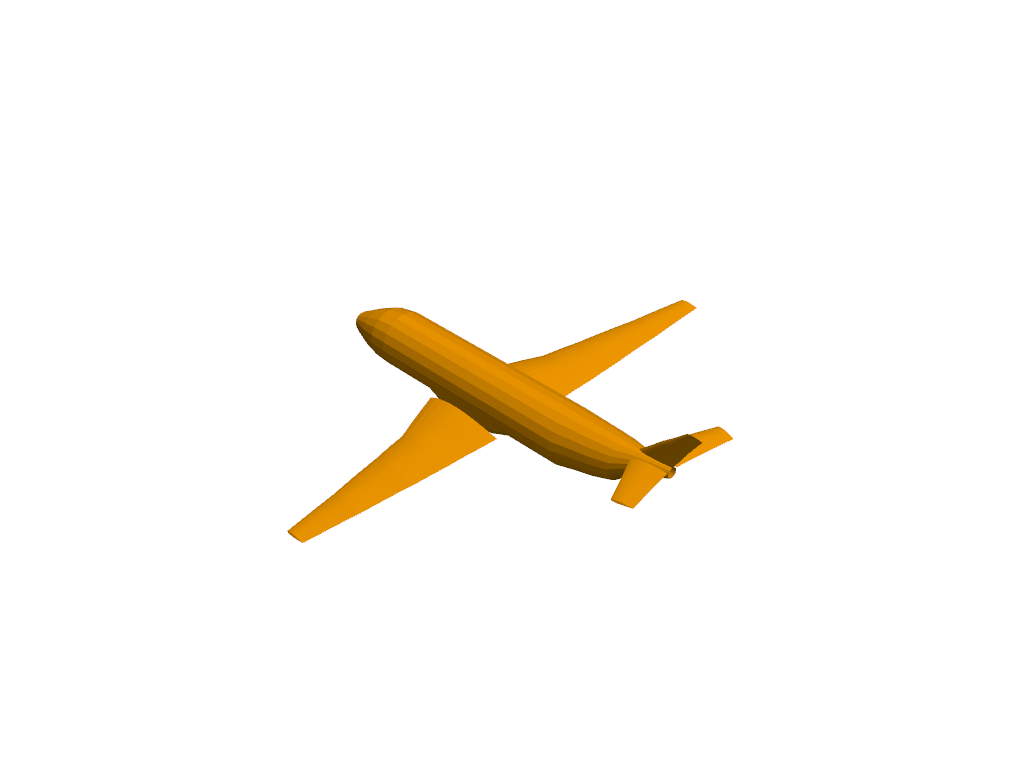
pl = pv.Plotter(off_screen=True)
pl.add_mesh(mesh, color='orange')
pl.show(screenshot='airplane.png')
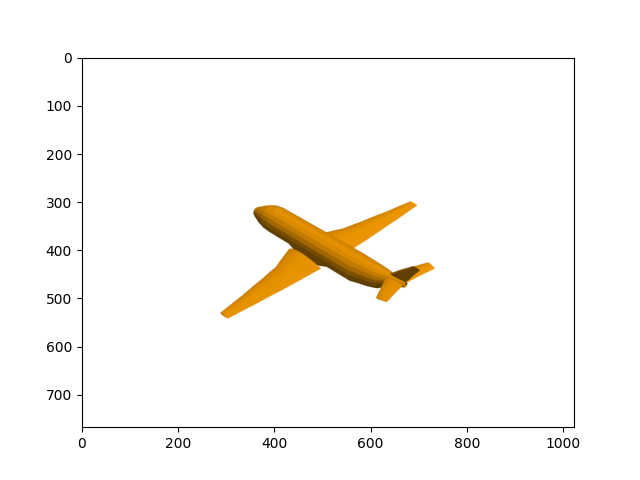
The img array can be used to plot the screenshot in matplotlib:
Total running time of the script: (0 minutes 1.071 seconds)
