Axes Objects#
Download Python source code | Download Jupyter notebook
PyVista has many axes objects which can be used for plotting.
This example highlights many of these objects and shows how to use them with related plotting methods.
import pyvista as pv
from pyvista import examples
Cube Axes#
Show axes bounds as a cube with CubeAxesActor.
mesh = examples.download_bunny_coarse()

pl = pv.Plotter()
pl.add_mesh(mesh)
axes = pv.CubeAxesActor(camera=pl.camera, bounds=mesh.bounds)
pl.add_actor(axes)
pl.show()
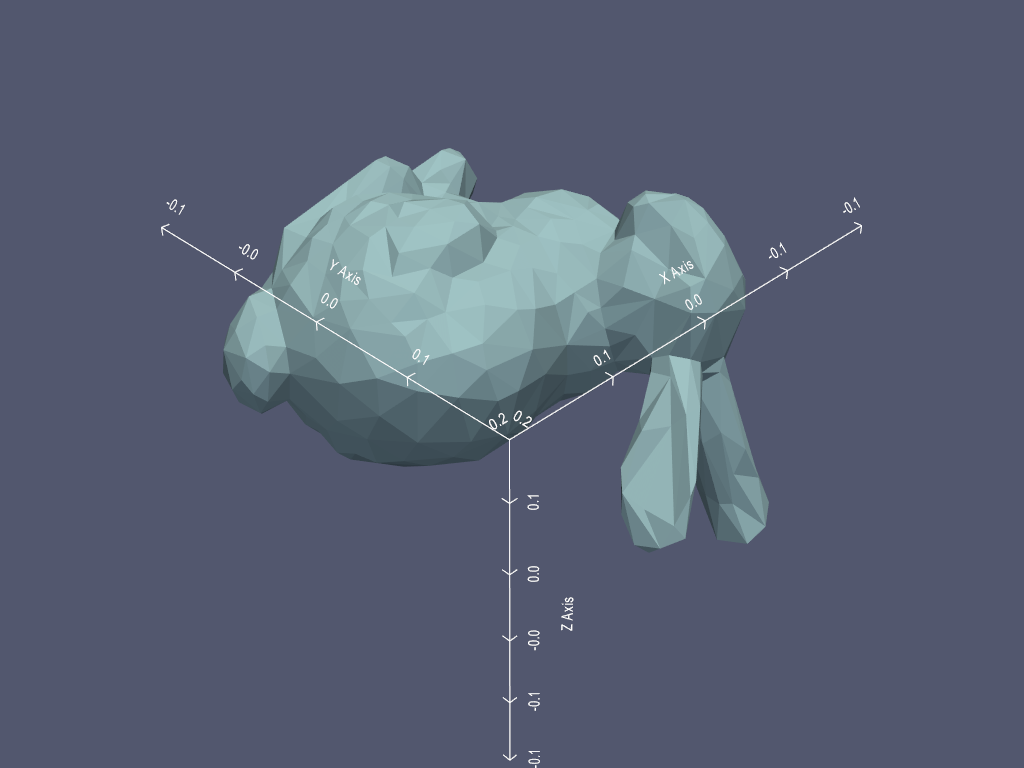
The colors, fonts, grid lines, and axis placement are all constructor arguments. See Plotting Bounds for more ways to configure them.
Creating the actor directly means passing the camera and bounds yourself, and the
renderer does not track it. show_bounds() builds the same actor
from the scene and registers it, so remove_bounds_axes() and
update_bounds_axes() apply to it.
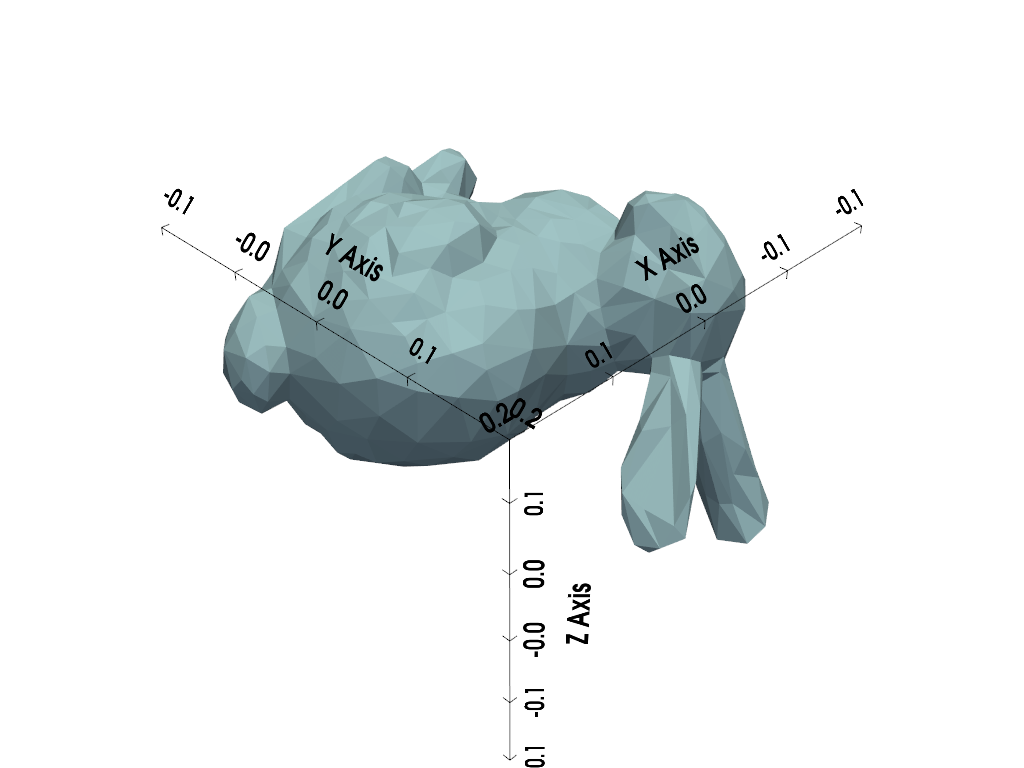
show_grid() adds grid lines on the back faces, labels on the
outer edges, and ticks on both sides.
pl = pv.Plotter()
pl.add_mesh(mesh)
pl.show_grid()
pl.show()
Arrow Axes#
Arrow-style axes include AxesActor, AxesAssembly,
and AxesAssemblySymmetric.
AxesActor is primarily intended for use as an orientation widget
(see next section), but can also be added to a plot as a normal actor.
Use add_axes_at_origin() to add AxesActor
at the origin.
pl = pv.Plotter()
pl.add_mesh(mesh)
pl.add_axes_at_origin()
pl.show()
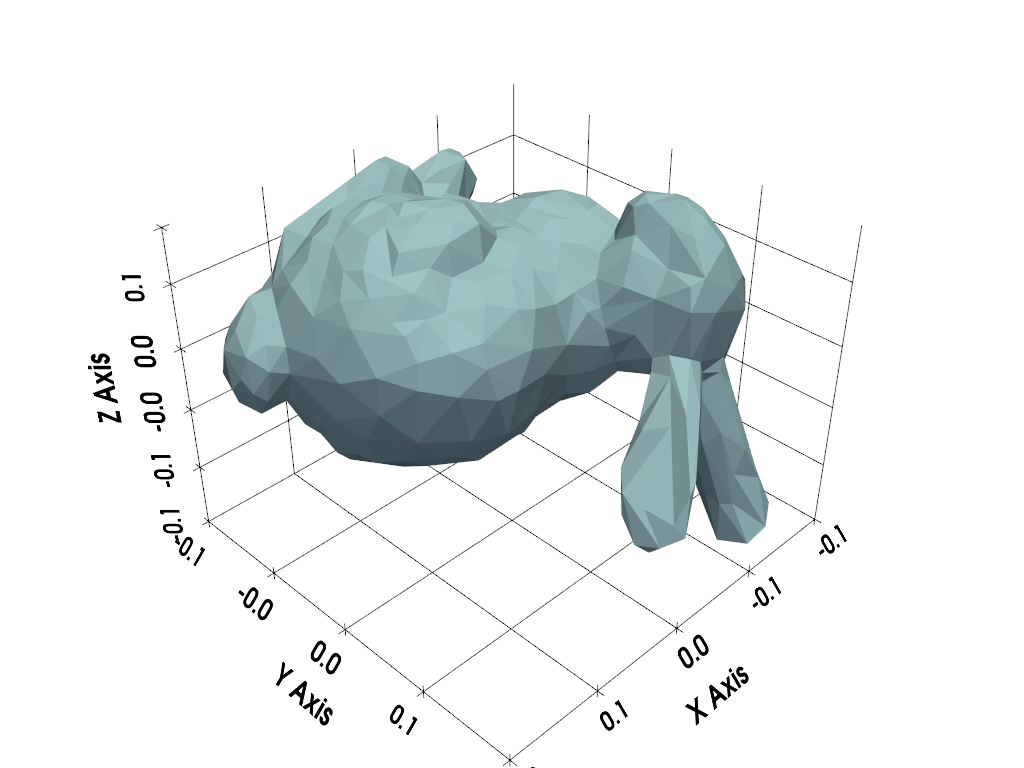
The axes are too large and should be scaled down. Transformations with AxesActor
are possible, but with some caveats:
The bounds of
AxesActorare hard-coded as+/- 1, which makes it challenging to configure the camera bounds for the plot.The user matrix must be used for transformations (scale and position properties do not work).
Create new axes, disable its bounds, and apply a scaling Transform.
trans = pv.Transform().scale(0.25)
axes = pv.AxesActor()
axes.UseBoundsOff()
axes.SetUserMatrix(pv.vtkmatrix_from_array(trans.matrix))
Plot the axes with a mesh. Note that since the bounds of the axes are not used, the tip of the z-axis appears clipped, which is not ideal.
pl = pv.Plotter()
pl.add_mesh(mesh)
pl.add_actor(axes)
pl.show()
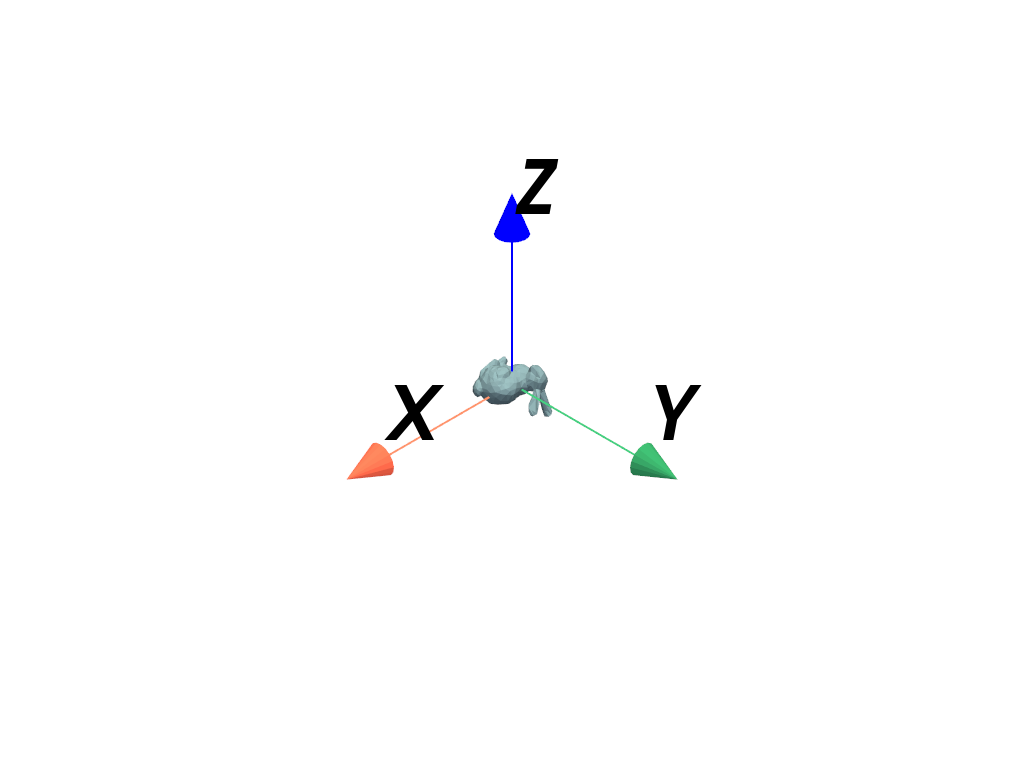
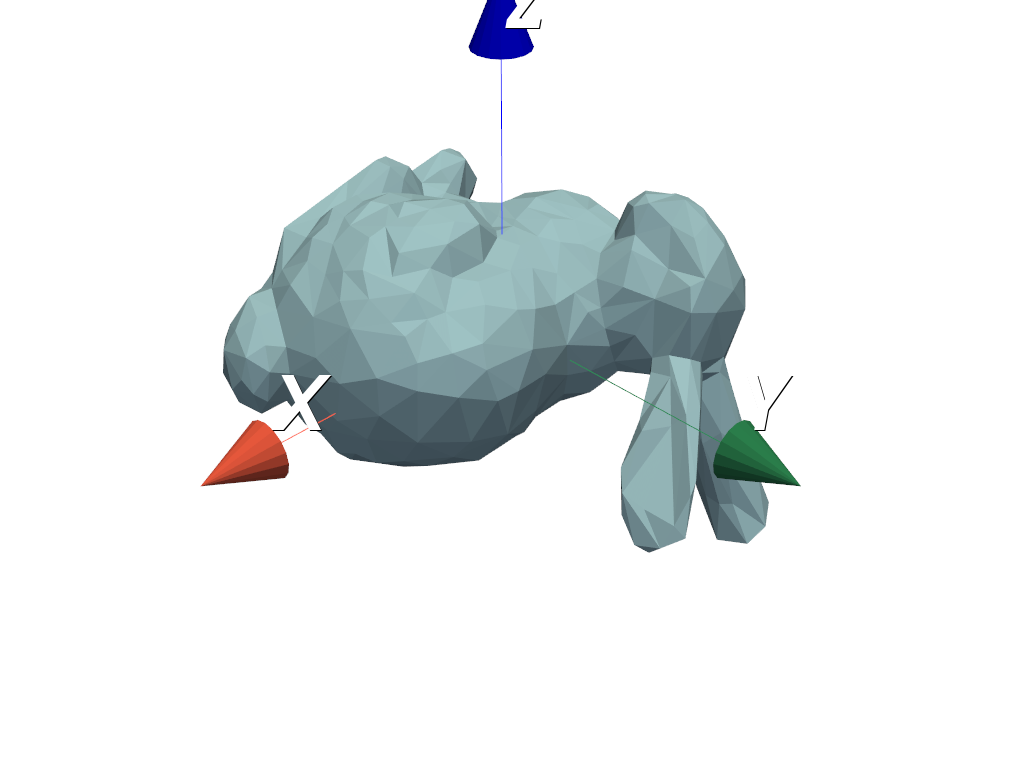
Instead of using AxesActor, AxesAssembly is
recommended for positioning axes in a scene.
axes = pv.AxesAssembly(scale=0.25)
pl = pv.Plotter()
pl.add_mesh(mesh)
pl.add_actor(axes)
pl.show()
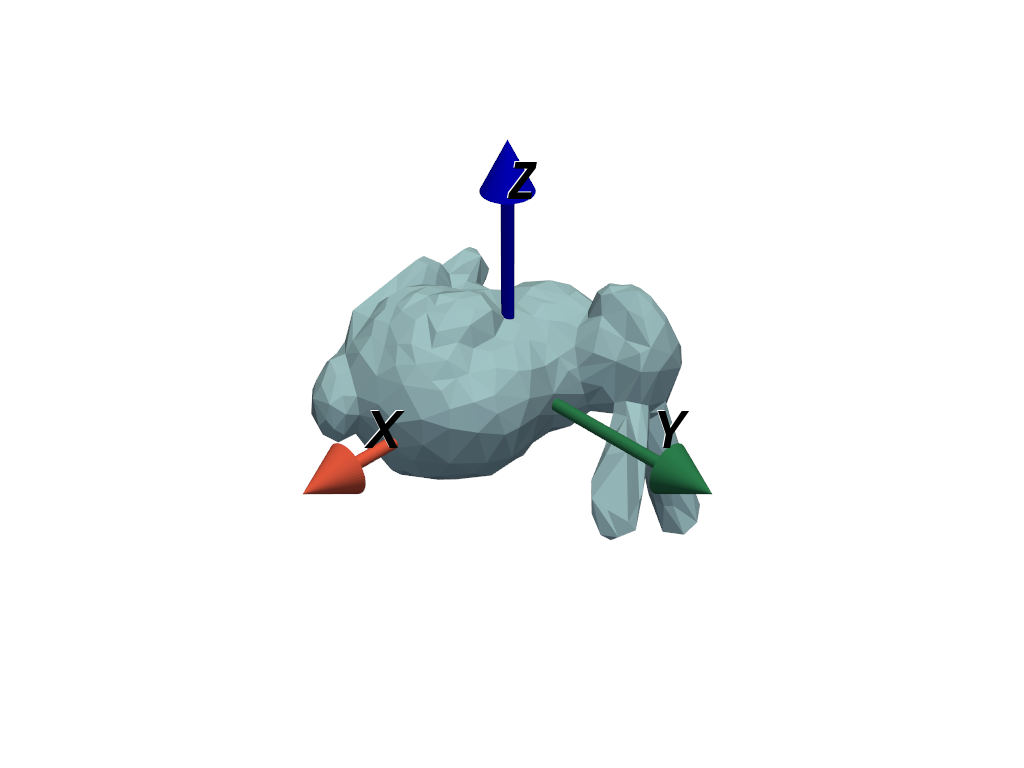
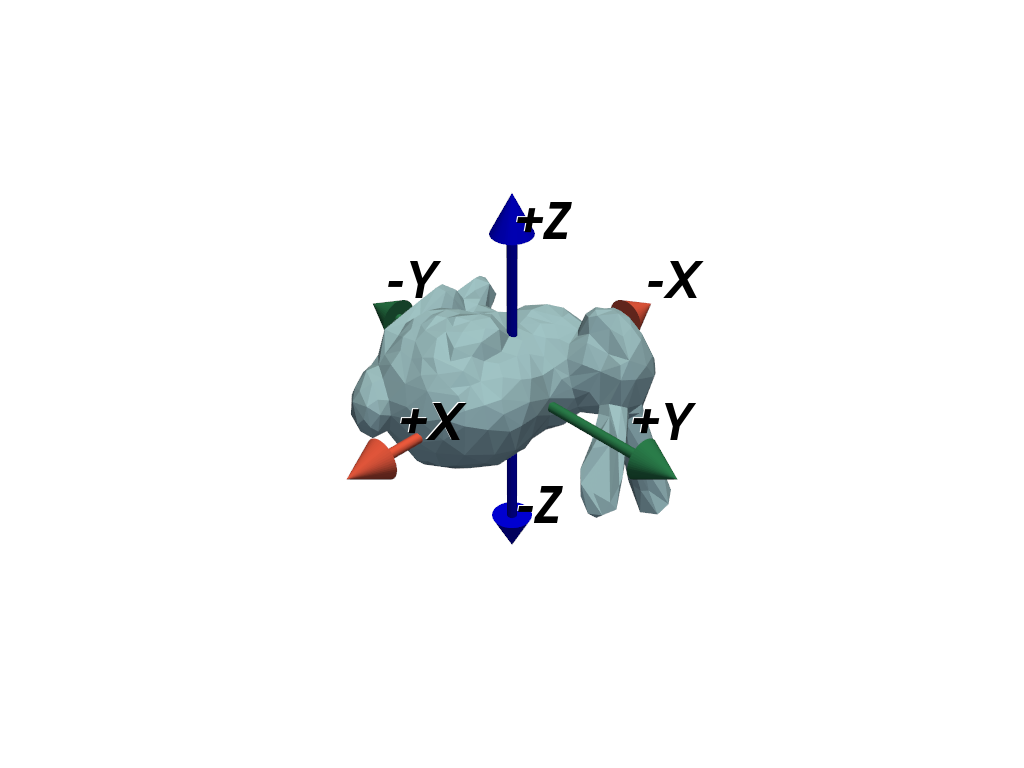
Alternatively, use AxesAssemblySymmetric for adding
symmetric axes to a scene.
axes = pv.AxesAssemblySymmetric(scale=0.25)
pl = pv.Plotter()
pl.add_mesh(mesh)
pl.add_actor(axes)
pl.show()
Axes Widgets#
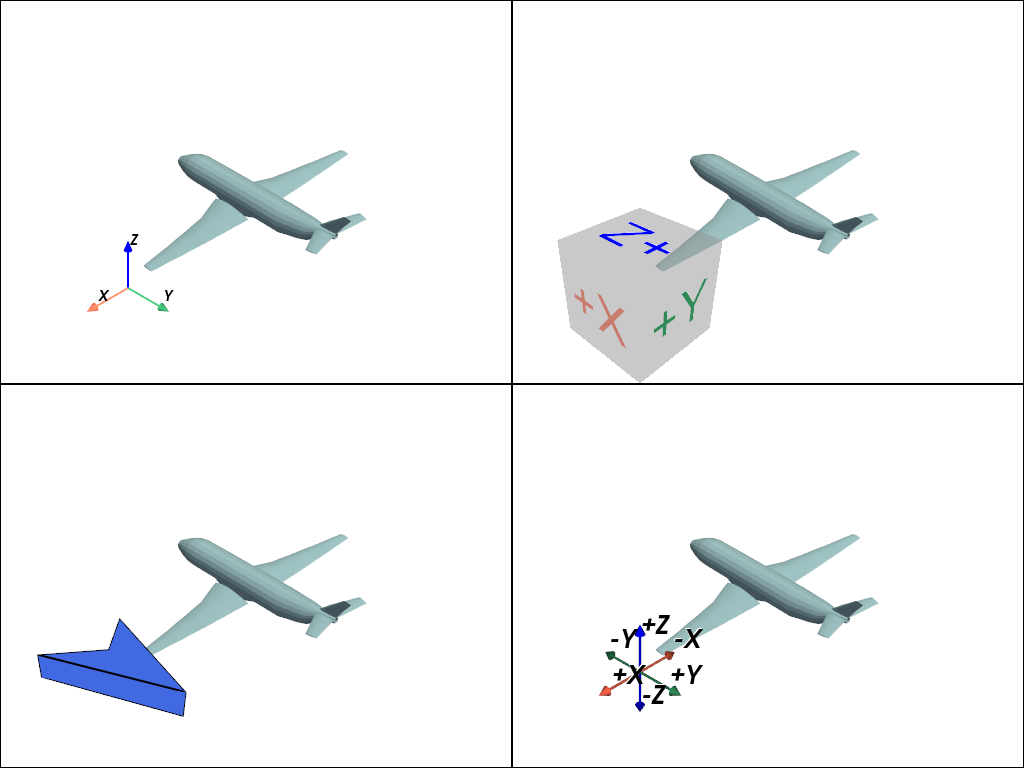
Any actor can also be used as an axes orientation widget. Here, we demonstrate using four separate axes widgets:
Use
add_axes()to add an arrow-style orientation widget. The widget usesAxesActorby default.Use
add_box_axes()to add a box-style orientation widget.Use
add_north_arrow_widget()to add a north arrow orientation widget.Add
AxesAssemblySymmetricas a custom orientation widget usingadd_orientation_widget().
mesh = examples.load_airplane()

# Create a plotter with four linked views.
viewport = (0, 0, 0.5, 0.5)
pl = pv.Plotter(shape=(2, 2))
pl.link_views()

# Add arrow-style axes
pl.subplot(0, 0)
pl.add_mesh(mesh)
pl.add_axes(viewport=viewport)

# Add box-style axes
pl.subplot(0, 1)
pl.add_mesh(mesh)
pl.add_box_axes(viewport=viewport)

# Add north arrow
pl.subplot(1, 0)
pl.add_mesh(mesh)
pl.add_north_arrow_widget(viewport=viewport)

# Add symmetric arrow-style axes
pl.subplot(1, 1)
pl.add_mesh(mesh)
axes = pv.AxesAssemblySymmetric(label_size=25)
pl.add_orientation_widget(axes, viewport=viewport)

pl.show()
Camera Orientation Widget#
There is also a specialized camera widget which can be added to a plot with
add_camera_orientation_widget().
Total running time of the script: (0 minutes 1.976 seconds)