pyvista.Plotter.camera_position#
- property Plotter.camera_position: CameraPosition[source]#
Set or return the camera position of the active render window.
Examples
Return the camera’s position as a
CameraPositionobject.>>> import pyvista as pv >>> from pyvista import examples >>> mesh = examples.download_bunny_coarse() >>> pl = pv.Plotter() >>> _ = pl.add_mesh(mesh, show_edges=True, reset_camera=True) >>> cpos = pl.camera_position
Show the camera position. This implicitly calls
repr(cpos).>>> cpos CameraPosition(position=(0.02430, 0.0336, 0.9446), focal_point=(0.02430, 0.0336, -0.02225), viewup=(0.0, 1.0, 0.0))
Create a new
CameraPositionobject by copy/pasting the repr and prepending the pyvista module, i.e.pv..>>> new_cpos = pv.CameraPosition( ... position=(0.02430, 0.0336, 0.9446), ... focal_point=(0.02430, 0.0336, -0.02225), ... viewup=(0.0, 1.0, 0.0), ... )
Set the
camera_positionwith this new object.>>> pl.camera_position = new_cpos
Use
printorstrto obtain a list representation instead.>>> print(cpos) [(0.02430, 0.0336, 0.9446), (0.02430, 0.0336, -0.02225), (0.0, 1.0, 0.0)]
Reposition it via a list of tuples.
>>> pl.camera_position = [
...     (0.3914, 0.4542, 0.7670),
...     (0.0243, 0.0336, -0.0222),
...     (-0.2148, 0.8998, -0.3796),
... ]
>>> pl.show()
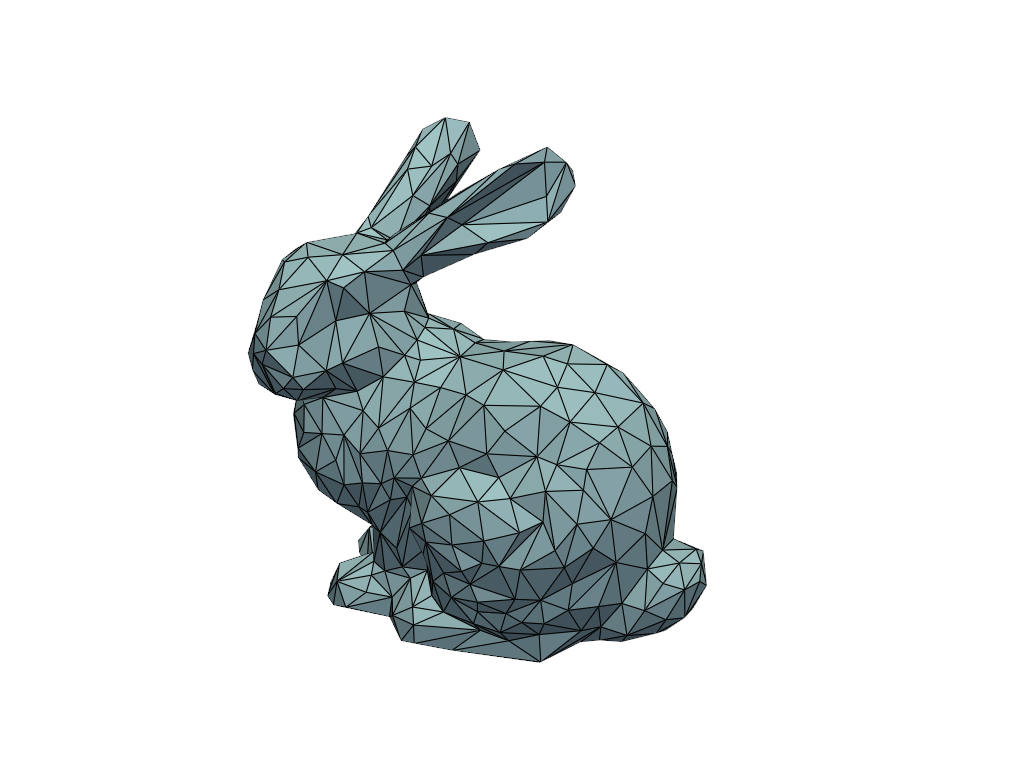
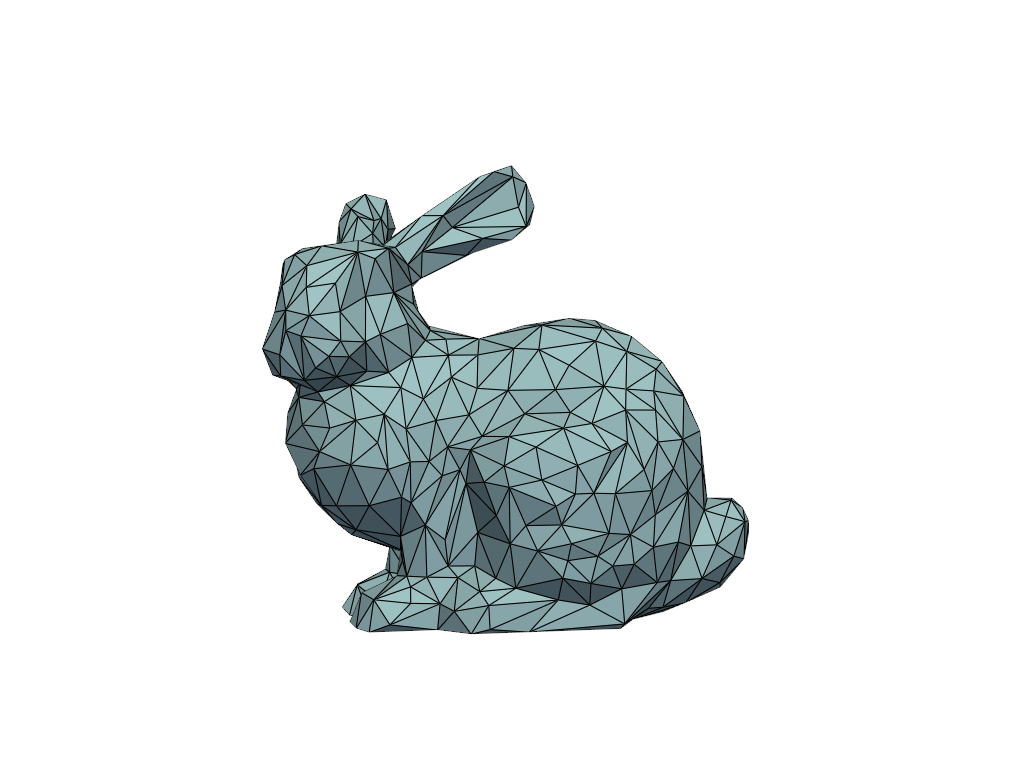
Set the camera position using a string and look at the
'xy'plane.>>> pl = pv.Plotter() >>> _ = pl.add_mesh(mesh, show_edges=True) >>> pl.camera_position = 'xy' >>> pl.show()
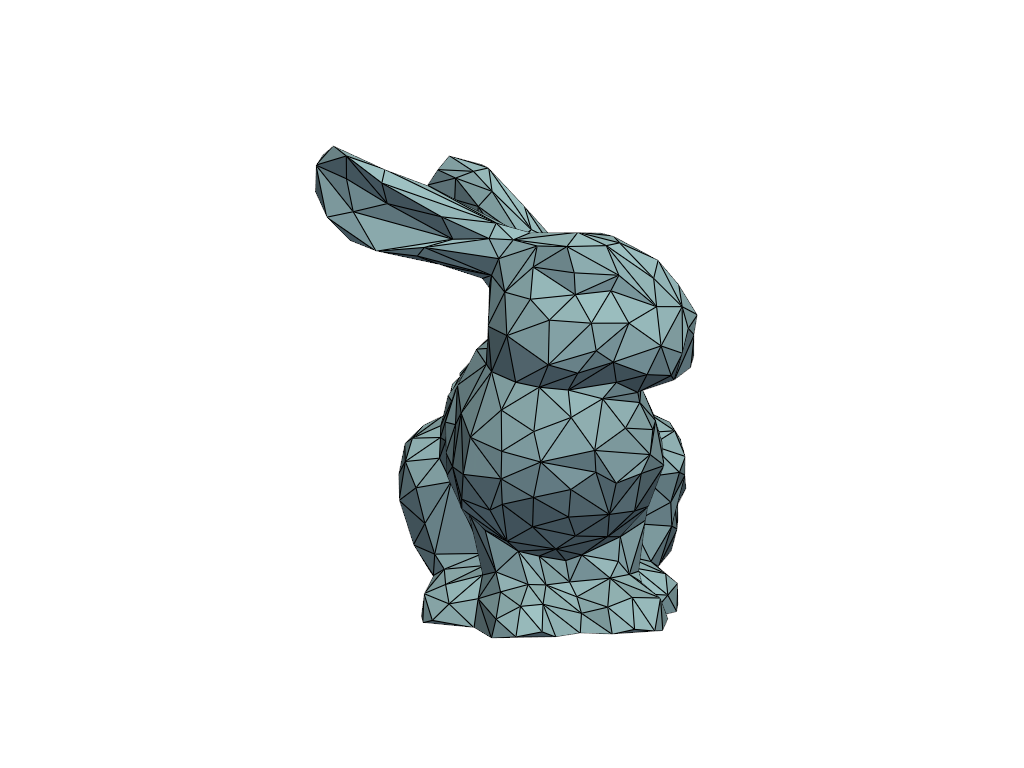
Set the camera position using a string and look at the
'zy'plane.>>> pl = pv.Plotter() >>> _ = pl.add_mesh(mesh, show_edges=True) >>> pl.camera_position = 'zy' >>> pl.show()
For more examples, see Cameras.