ImageDataFilters.median_smooth#
- ImageDataFilters.median_smooth(
- *,
- kernel_size: VectorLikeInt = (3, 3, 3),
- scalars: str | None = None,
- preference: PointLiteral | CellLiteral = 'point',
- progress_bar: bool = False,
Smooth data using a median filter.
The Median filter that replaces each pixel with the median value from a rectangular neighborhood around that pixel. Neighborhoods can be no more than 3 dimensional. Setting one axis of the neighborhood
kernelSizeto 1 changes the filter into a 2D median.See vtkImageMedian3D for more details.
- Parameters:
- kernel_size
VectorLikeInt, default: (3, 3, 3) Size of the kernel in each dimension (units of voxels), for example
(x_size, y_size, z_size). Default is a 3D median filter. If you want to do a 2D median filter, set the size to 1 in the dimension you don’t want to filter over.- scalars
str, optional Name of scalars to process. Defaults to currently active scalars.
- preference
str, default: “point” When scalars is specified, this is the preferred array type to search for in the dataset. Must be either
'point'or'cell'.- progress_barbool, default:
False Display a progress bar to indicate progress.
- kernel_size
- Returns:
pyvista.ImageDataUniform grid with smoothed scalars.
Warning
Applying this filter to cell data will send the output to a new point array with the same name, overwriting any existing point data array with the same name.
Examples#
Download Python source code | Download Jupyter notebook
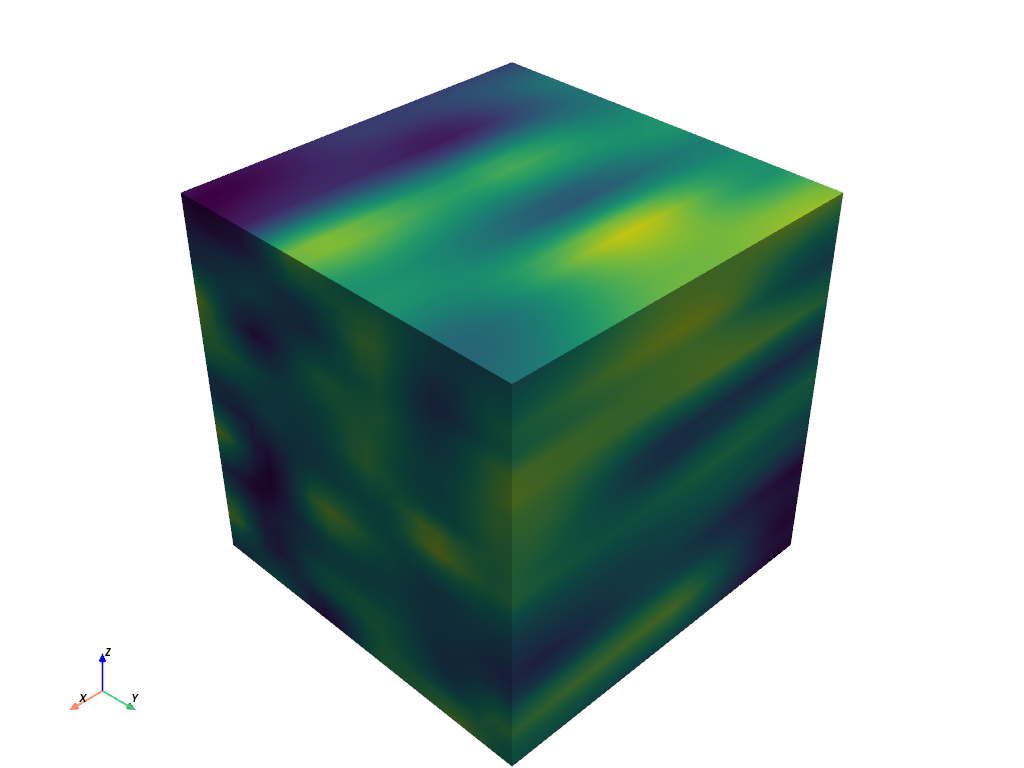
First, create sample data to smooth. Here, we use
pyvista.perlin_noise()
to create meaningful data.
>>> import numpy as np
>>> import pyvista as pv
>>> noise = pv.perlin_noise(0.1, (2, 5, 8), (0, 0, 0))
>>> grid = pv.sample_function(
...     noise, bounds=[0, 1, 0, 1, 0, 1], dim=(20, 20, 20)
... )
>>> grid.plot(show_scalar_bar=False)
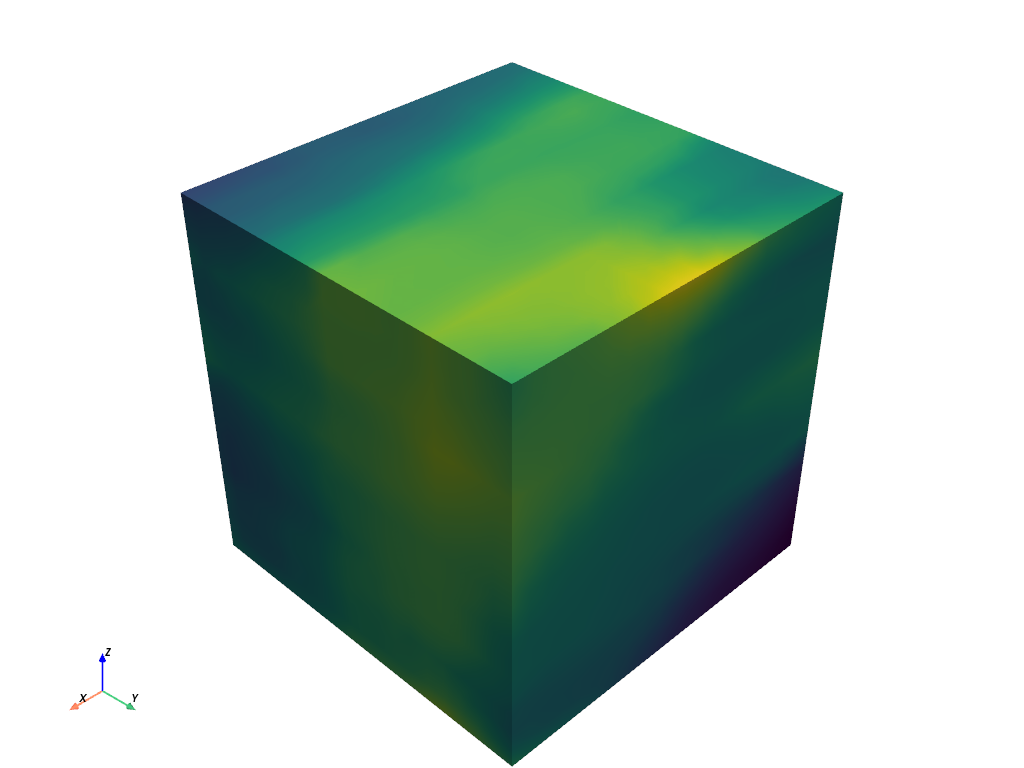
Next, smooth the sample data.
>>> smoothed = grid.median_smooth(kernel_size=(10, 10, 10))
>>> smoothed.plot(show_scalar_bar=False)