pyvista plot#
Command-line interface for plotting one or more mesh files in an interactive window.
Using pyvista plot is similar to calling plot() in Python.
Examples#
Note
To run the examples yourself locally, first change directory to pyvista/examples, e.g.
cd $(python -c "import pyvista.examples, pathlib; print(pathlib.Path(pyvista.examples.__file__).parent)")
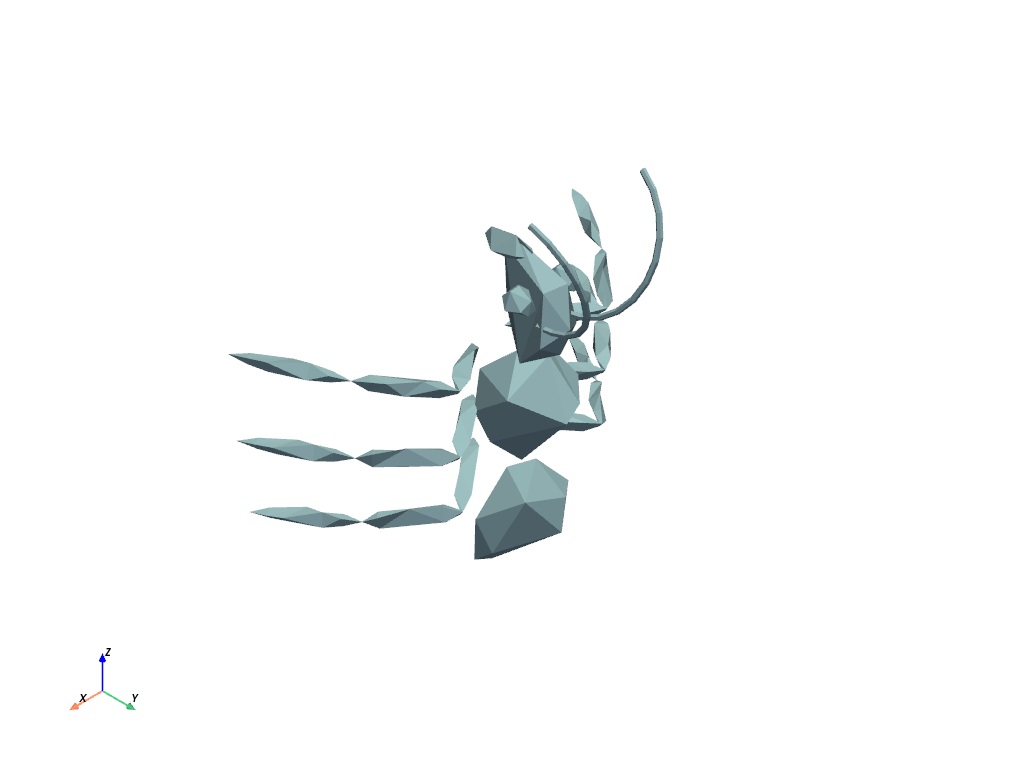
Plot a single mesh file.
$ pyvista plot ant.ply
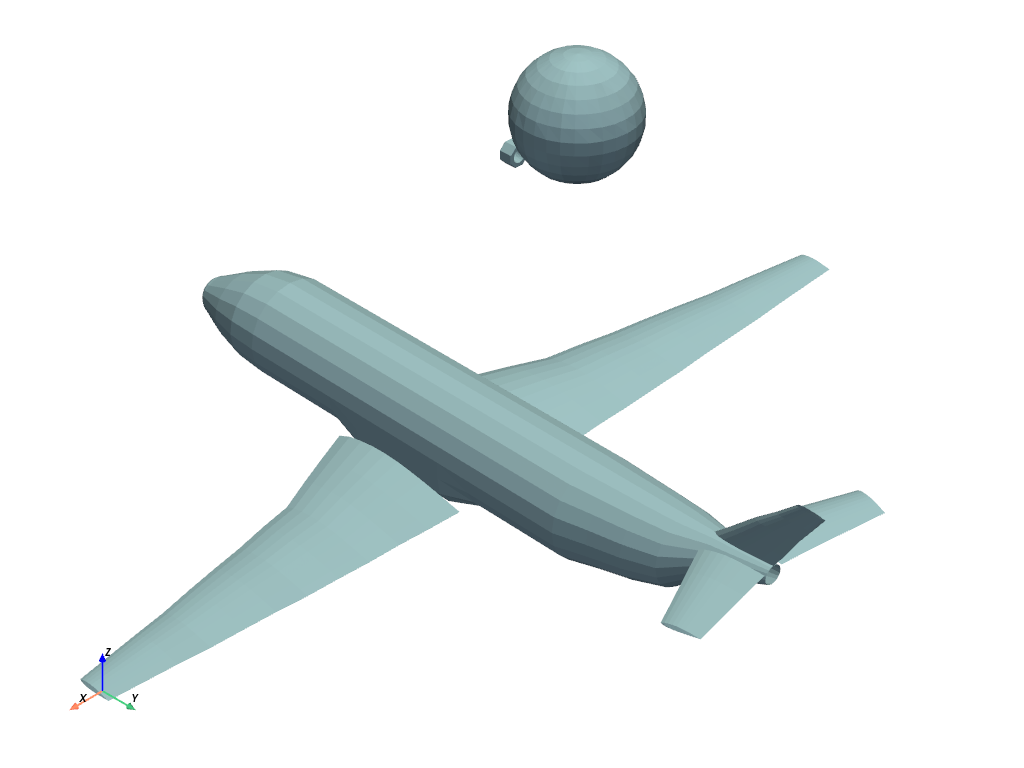
Plot multiple PLY mesh files in a single window using wildcard patterns and
use --zoom.
$ pyvista plot *.ply --zoom 2
Plot a mesh file off-screen and save a screenshot.
$ pyvista plot ant.ply --screenshot output.png --off-screen
API Reference#
Show the output from pyvista plot --help.
$ pyvista plot --help
Usage: pyvista plot PATH... [OPTIONS]

Plot one or more mesh files in an interactive window.

╭─ Parameters ─────────────────────────────────────────────────────────────────╮
│ Option             Default  Description                                      │
│ --skip-unreadable  False    Skip any paths that are not readable instead of  │
│                             raising an error.                                │
╰──────────────────────────────────────────────────────────────────────────────╯
╭─ Inputs ─────────────────────────────────────────────────────────────────────╮
│ Option   Default  Description                                                │
│ * PATHS  -        Paths to plot. Glob patterns (*, ?, [...]) are expanded.   │
│                   Each match must be readable with pyvista.read.             │
╰──────────────────────────────────────────────────────────────────────────────╯
╭─ Plotter init ───────────────────────────────────────────────────────────────╮
│ Option                           Default  Description                        │
│ --off-screen --no-off-screen     -                                           │
│ --screenshot                     -                                           │
│ --interactive --no-interactive   True                                        │
│ --window-size                    -                                           │
│ --empty-window-size                                                          │
│ --border --no-border             -                                           │
│ --border-color                   -                                           │
│ --border-width                   -                                           │
│ --theme                          -                                           │
╰──────────────────────────────────────────────────────────────────────────────╯
╭─ Rendering ──────────────────────────────────────────────────────────────────╮
│ Option                            Default  Description                       │
│ --full-screen --no-full-screen    -                                          │
│ --cpos                            -                                          │
│ --show-bounds --no-show-bounds    False                                      │
│ --show-axes --no-show-axes        -                                          │
│ --background                      -                                          │
│ --text                            ""                                         │
│ --eye-dome-lighting               False                                      │
│ --no-eye-dome-lighting                                                       │
│ --volume --no-volume              False                                      │
│ --parallel-projection             False                                      │
│ --no-parallel-projection                                                     │
│ --anti-aliasing                   -                                          │
│ --zoom                            -                                          │
│ --ssao --no-ssao                  False                                      │
╰──────────────────────────────────────────────────────────────────────────────╯
╭─ Return ─────────────────────────────────────────────────────────────────────╮
│ Option                          Default  Description                         │
│ --return-cpos --no-return-cpos  False                                        │
╰──────────────────────────────────────────────────────────────────────────────╯
╭─ Supplementary ──────────────────────────────────────────────────────────────╮
│ Option                Default  Description                                   │
│ --static --no-static  False                                                  │
│ --[KEYWORD]           -        Additional keyword arguments passed to        │
│                                Plotter.add_mesh or Plotter.add_volume. See   │
│                                the documentation for more details at         │
│                                https://docs.pyvista.org/api/plotting/_autos… │
│                                and                                           │
│                                https://docs.pyvista.org/api/plotting/_autos… │
│                                                                              │
│                                Note that contrary to other CLI arguments,    │
│                                hyphens - are not converted to underscores _  │
│                                before being passed to the corresponding      │
│                                plotter method. For example, you need to use  │
│                                --show_edges=True instead of                  │
│                                --show-edges=True to show mesh edges in the   │
│                                plotting window.                              │
╰──────────────────────────────────────────────────────────────────────────────╯